Let’s Replace the Screen and Digitizer
Digitizer Screen Swap
Lab Work – Digitizer Replaced
iPad 4 Mini – Digitizer Swap
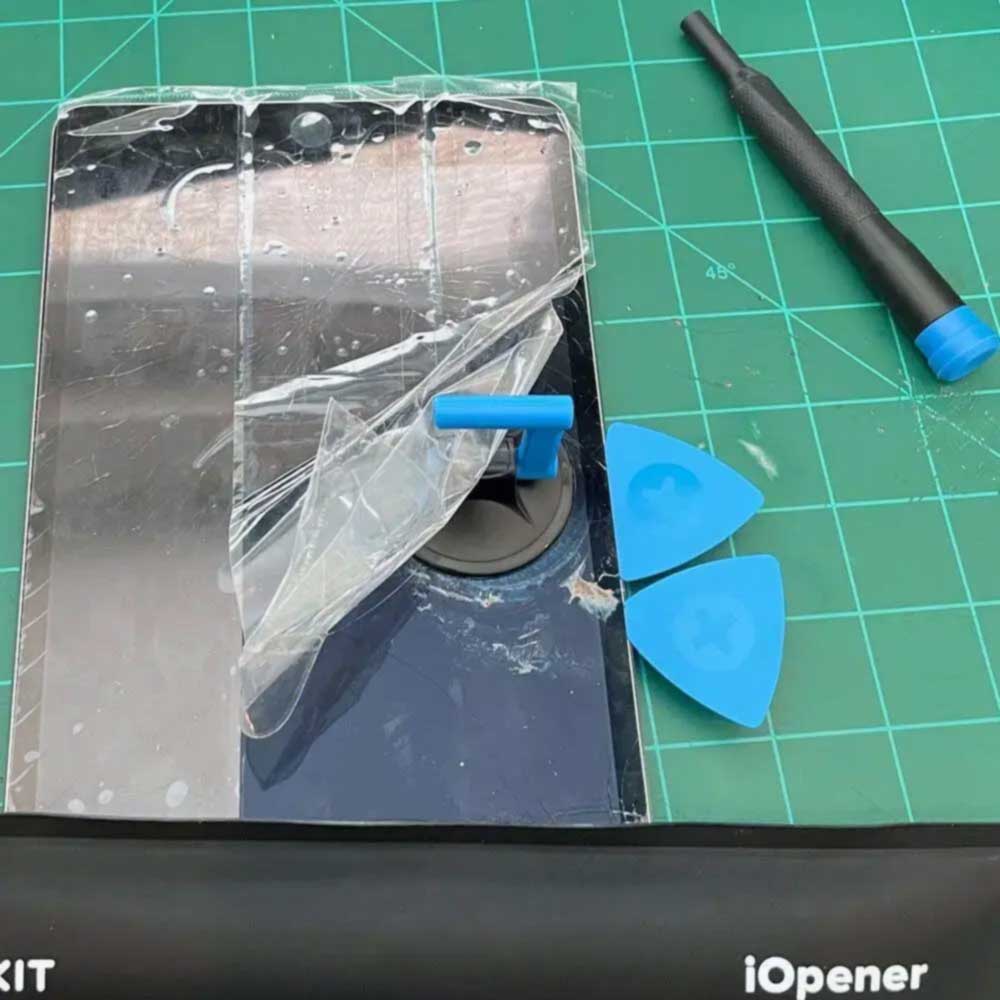
Take a peek under the hood and check out the iPad 4 Mini – Screen Swap timeline. From start to finish, it only takes a quick 30 minutes to complete. Just remember to remove the power flex connector before the screen/digitizer flex connections. We have included a followup picture in the timeline that demonstrates the recommended tools and method for removing those flex connections. Additionally, when dealing with the button assembly housing and home button, be sure to handle them with precision and care. Taking care of the button and its connections will make a significant difference in the long run.
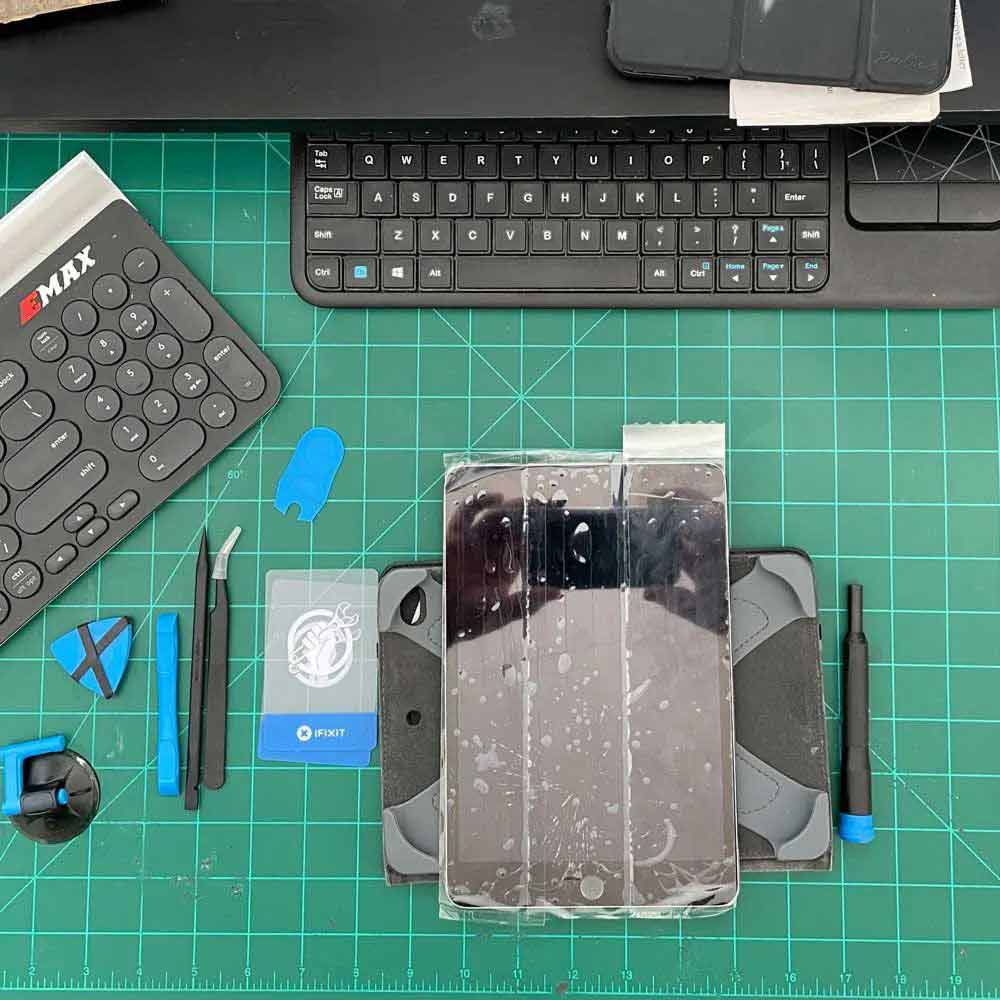
- Packing Tape
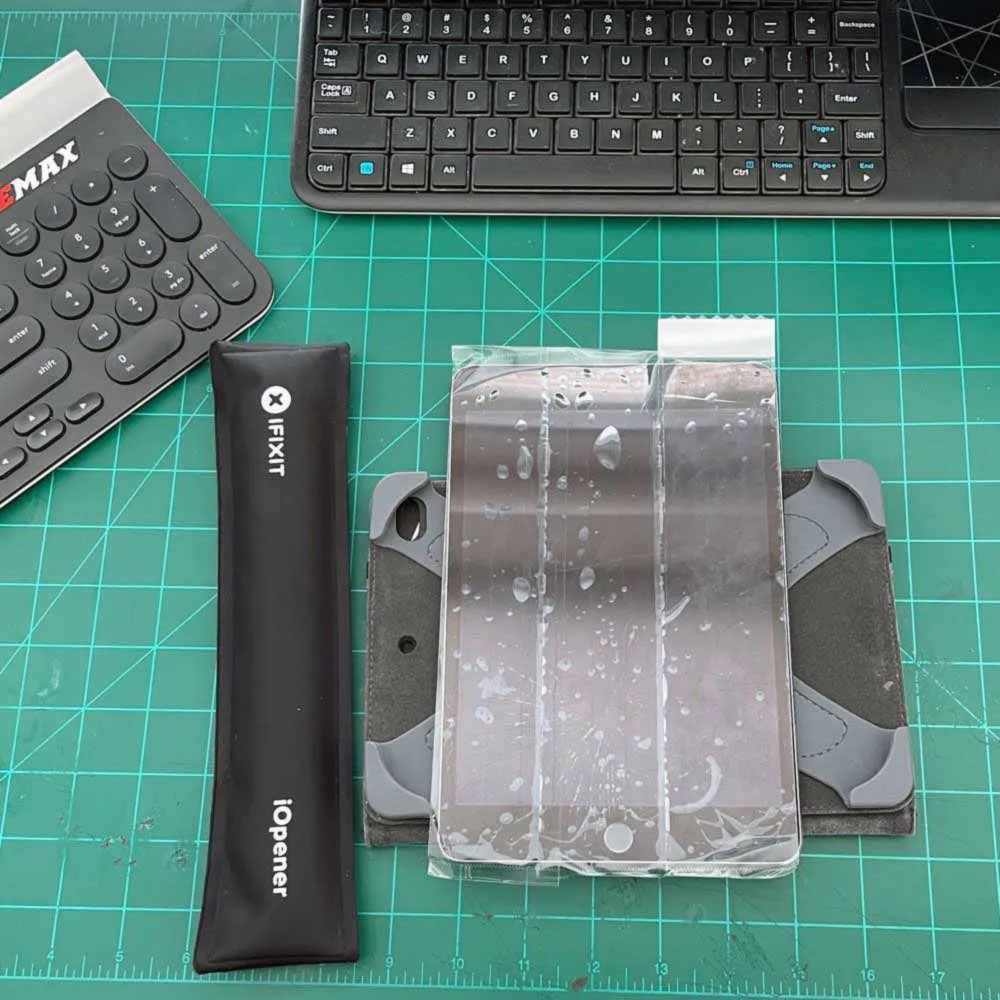
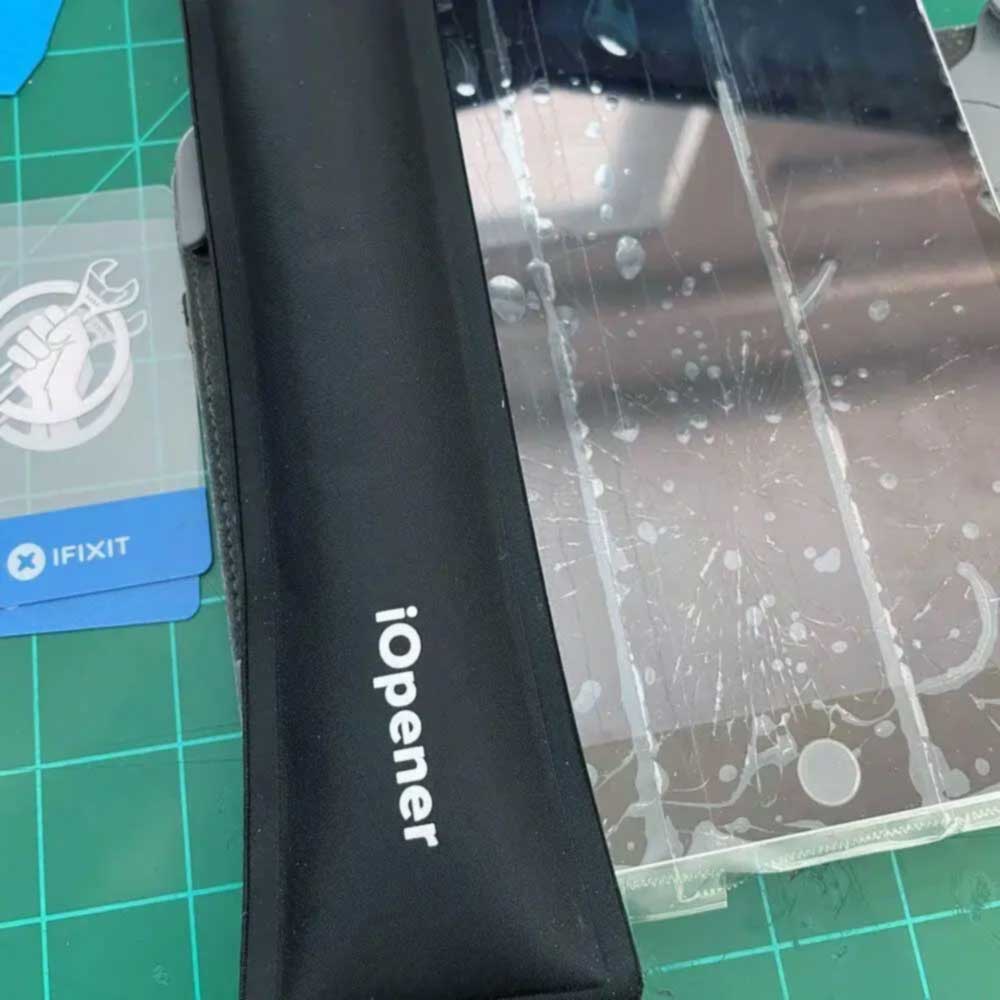
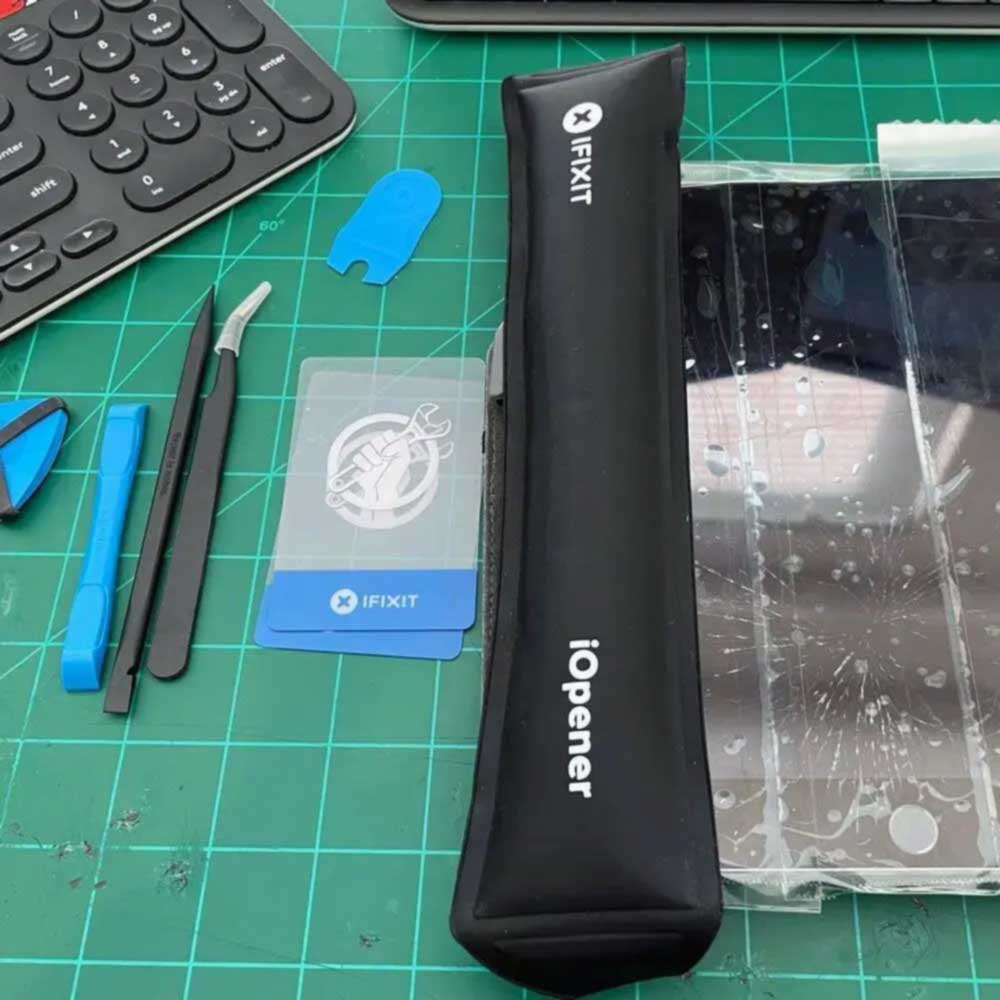
- Heating Element – Water Based, or Heat Gun
- Pryor triangles
- Suction Cup/Pry Clamps
- Tech Screwdriver set
- Curved Tweezers
- Pressurized Air
- Anti-static Wipes
iPad Screen Repair
Tap Screen
Heating Glue
Start Removal
Shim Screen

Unscrew Shield
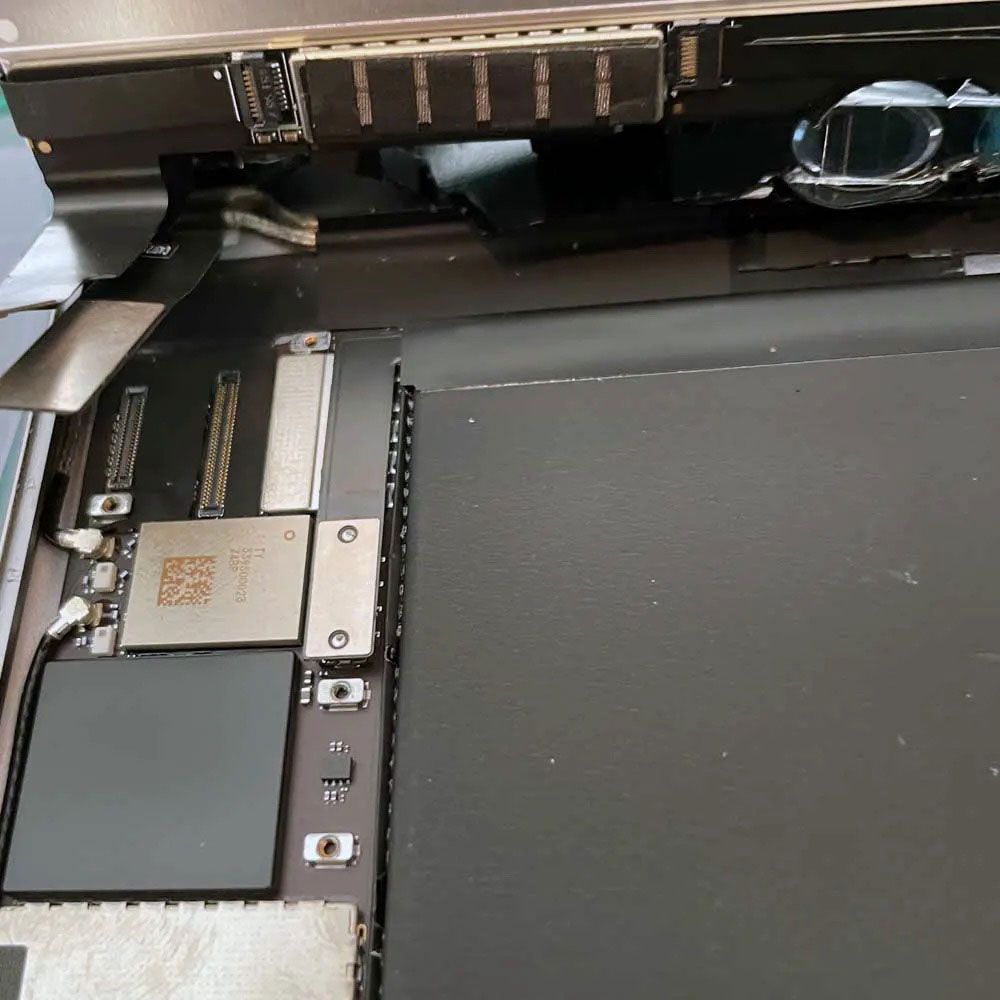
Gain Access
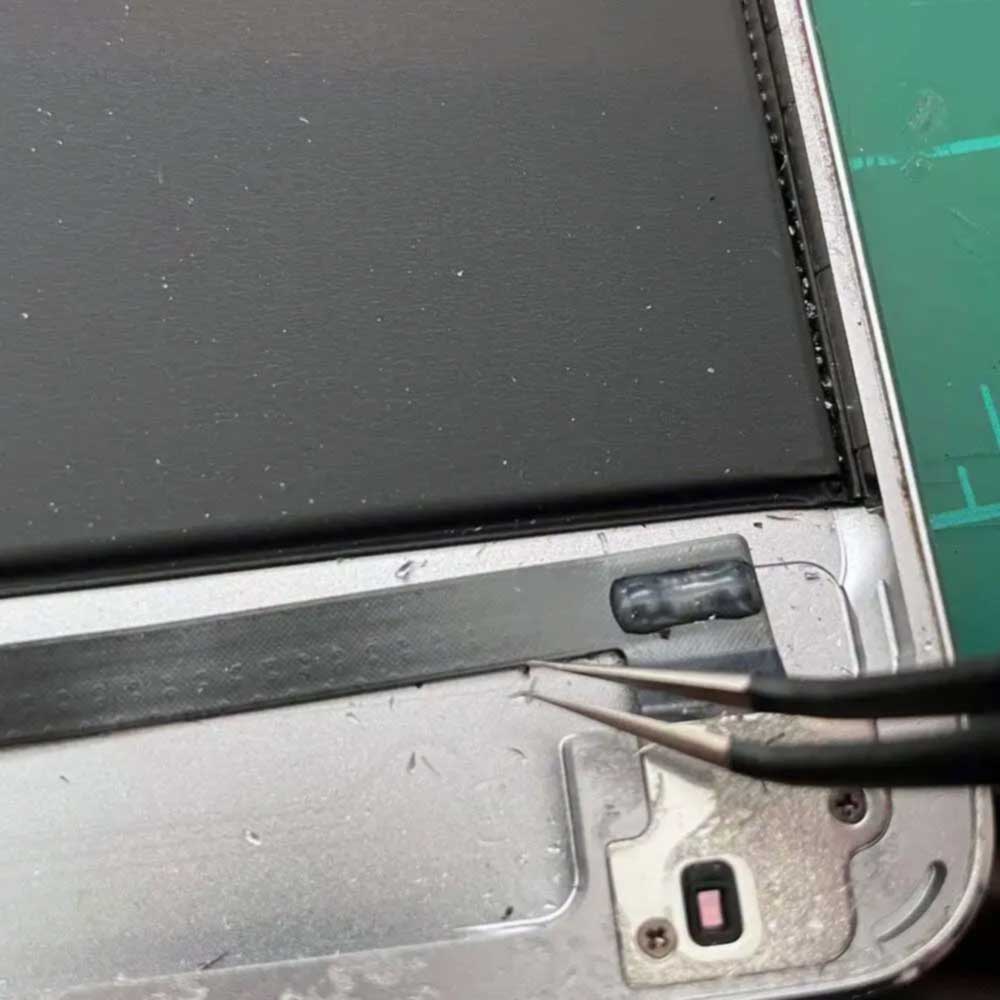
Digitizer Connector

Digitizer Cracked
Let us know your thoughts on the moderately difficult fix of this iPad 4 – Screen Swap if you are knowledgeable in this area. More Apple tear downs and repairs, like this Late ’18 MBP Battery Swap or M1 Chip Touch bar swap. There are more, more like this Apple tablet digitizer repair, which takes approximately 20 minutes from start to finish.
If you encounter any problems, Apple Self Services options are available, as well as Apple Parts – – case you encounter any difficulties or obstacles. Feel free to reach out to us, as we are more than happy to assist you!
Comments
One response to “Quality Rebuild, iPad 4 Mini Digitizer Swap”