Work To Identify Norms, Baseline Tests
M1 Inspection – Screen, Touch bar & Keys
M1 Inspection Report – Visual Inspection and Teardown
Time will be relevant here, take your time, clean up as you go; M1 inspection and teardown, we will be replacing several MBP parts – the screen, touch bar and keys.
Inspection, Condition
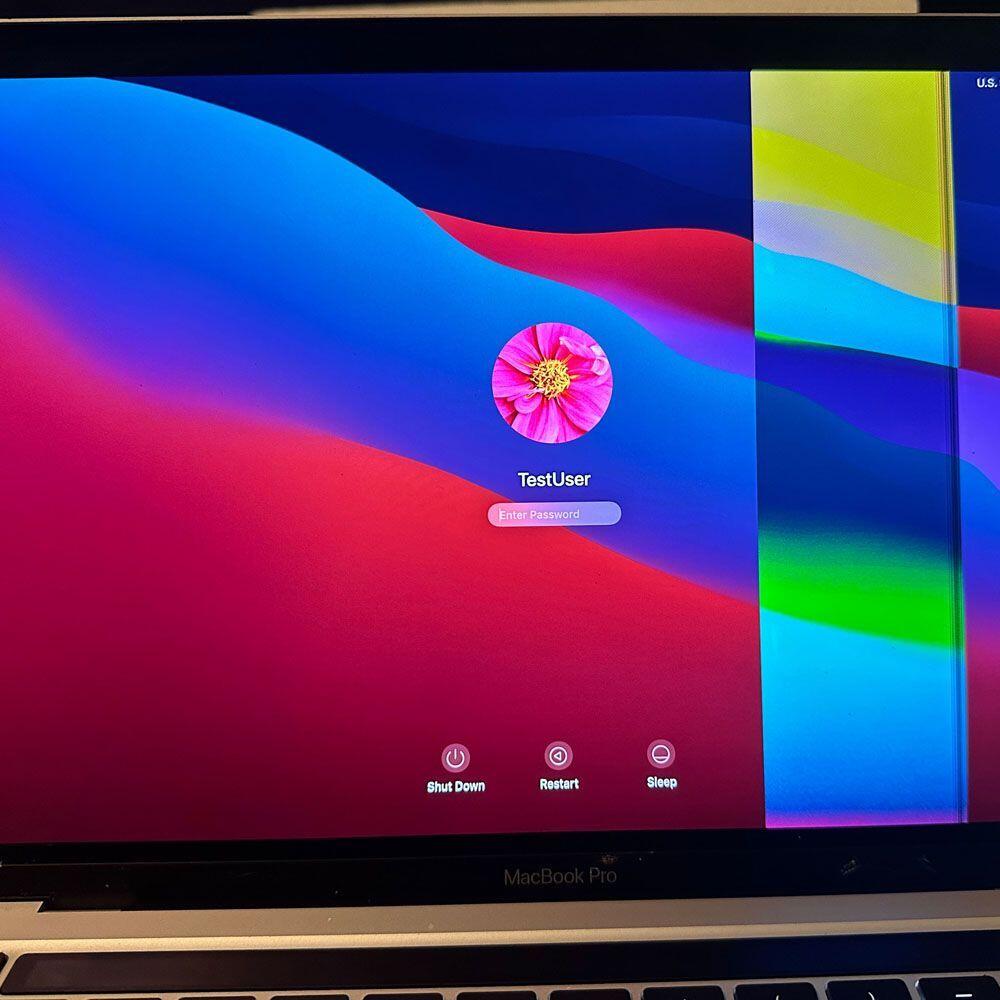
First, let’s start with the inspection. Let’s call it the M1 Visual Inspection & Teardown. Shall we begin? We will start with a physical inspection, then move into the software inspection, computational tests and gather the relevant information to start the refurbishment. So, what is the physical damage? Does the visual damage impact the computers’ ability to function or compute?
Scraps, nicks or indentation? Worse in some cases, but here the damage is on the corners of the machine. Same with nicks and scraps. We will ultimately fix what we can post inspection. In turn, we want to know where the damage is and how it might impact the machine’s performance, computing power, UI (User Interface) etc…
Visual Hardware Inspection
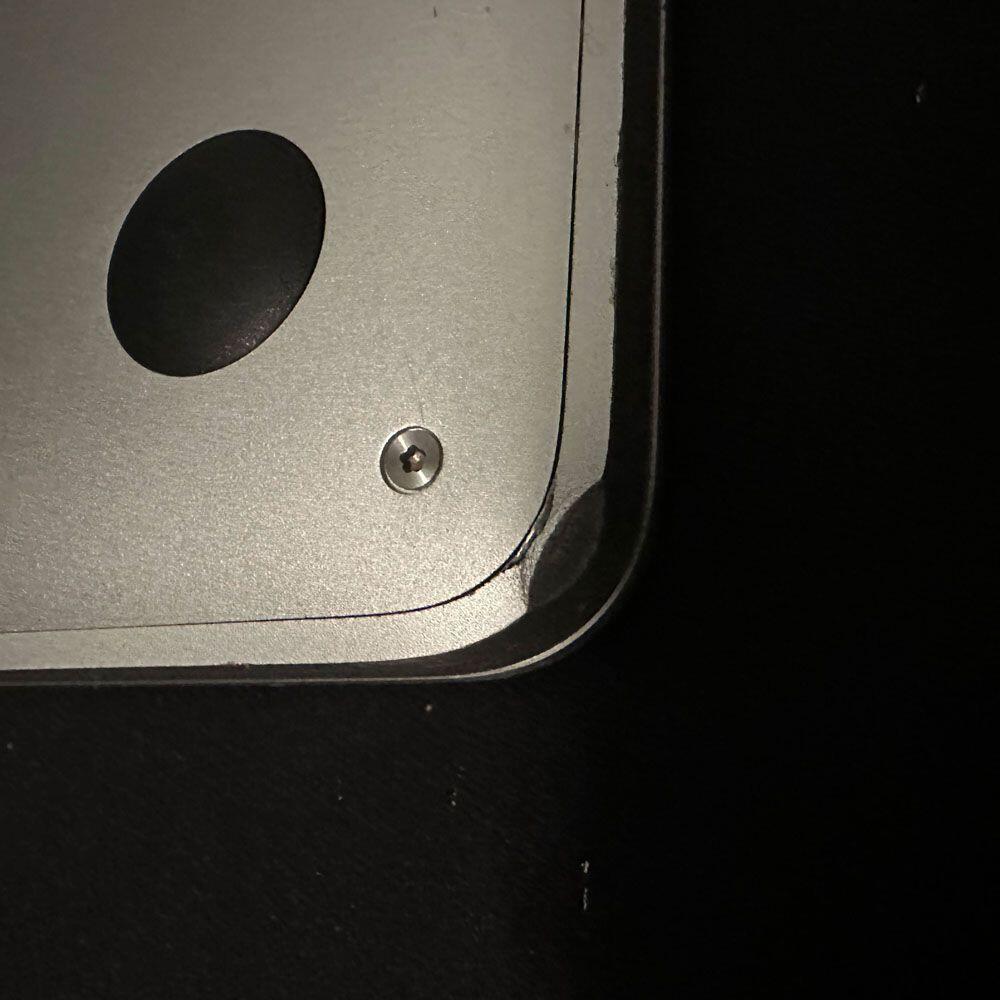
Left Bottom Case Corner
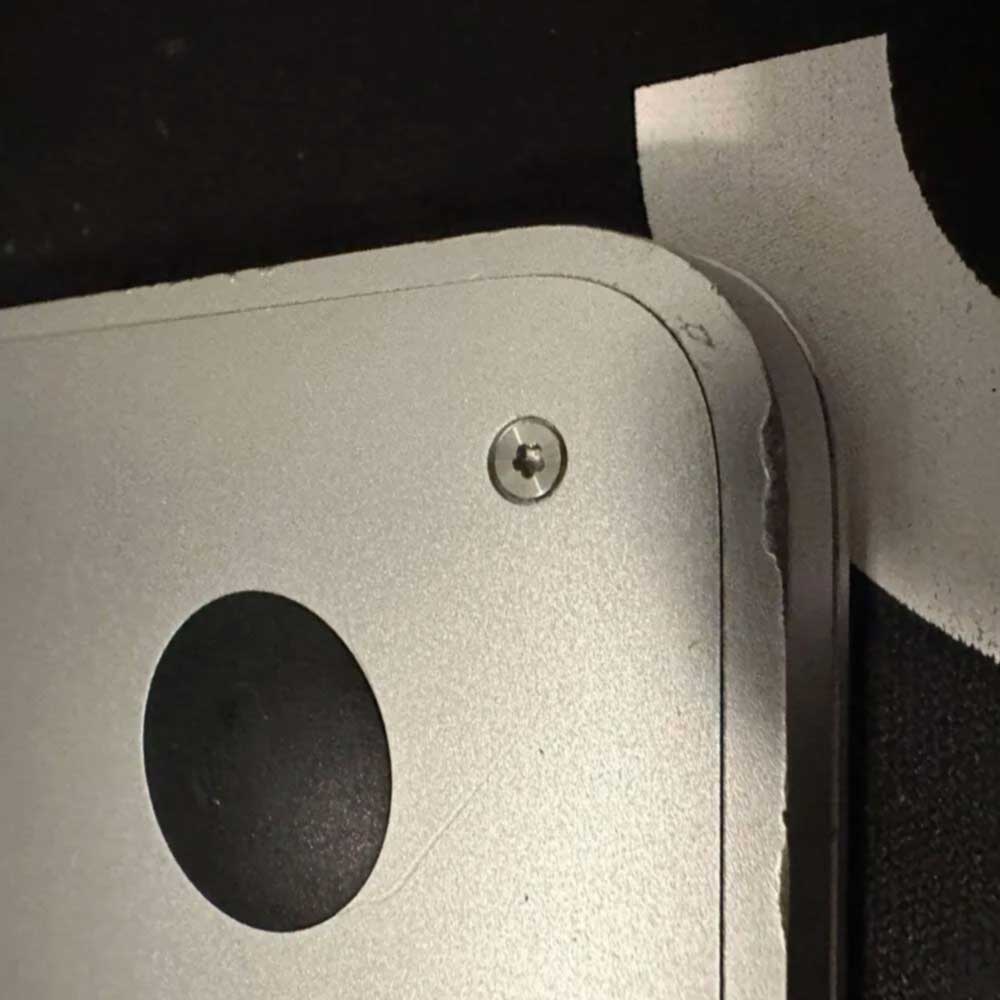
Corner Right
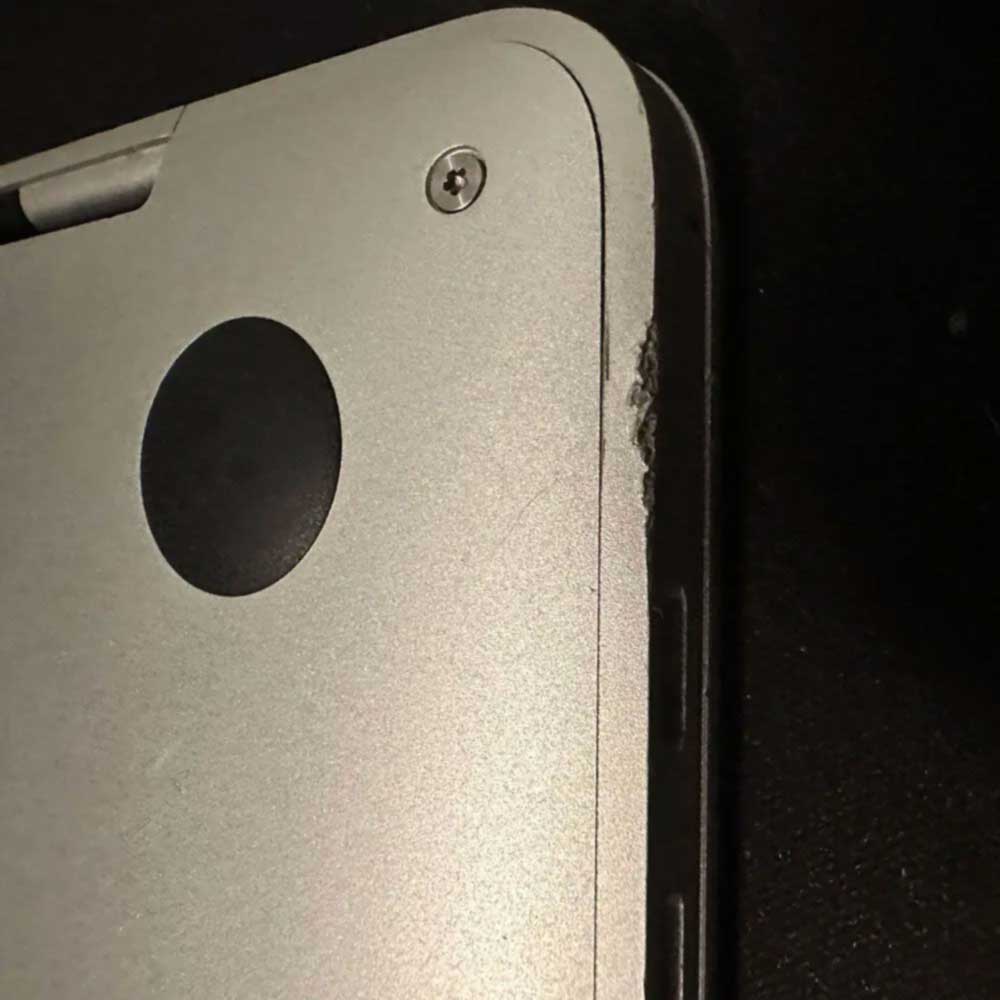
Side Case Blemishing
Screen Issues
Touch Issues
Keys
Keys & Touch
Sand, Glass Debris
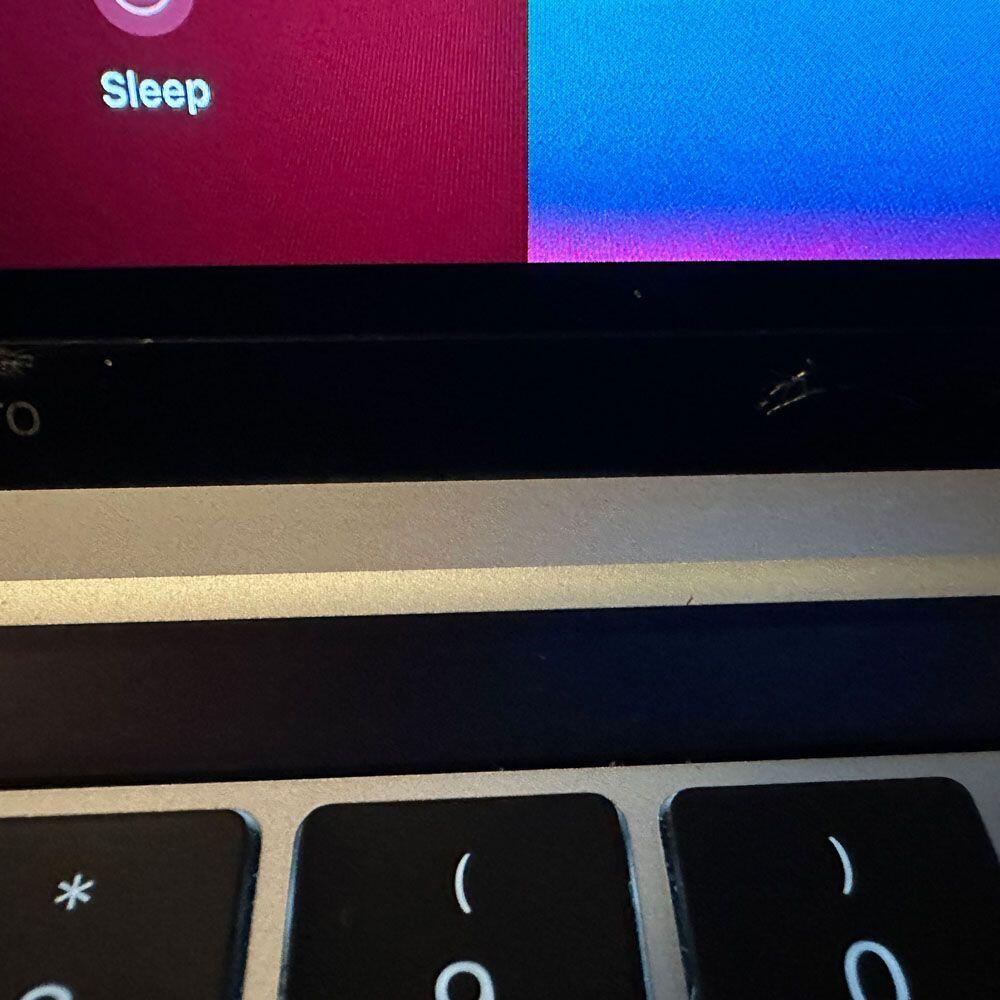
Secondly, we can observe screen issues, such as LCD problems where the screen is affected by cracked or broken glass. Which is causing major screen distortions, solid lines running down the screen from top to bottom. Let’s have a closer look.
Upon closer examination, scratches and broken/cracked glass can be seen in the black sublayer of the LCD screen. At the bottom of the display, near the hinge, and just about the touch bar. So, we’ve go exterior and interior damage, compromised screen and touch bar and a few keys missing.
My initial assessment here, there may have been some debris or object inside the screen area (think clamshell, as the two pieces hinge, and come together), and when the computer was closed by the user; “crunch”. At least, that is my hunch as the damage appears to be in-line or mirroring debris damage. I’m wondering if the touch bar glass snapped (failed under pressure) first, causing the screen damage or visa versa. Interesting.
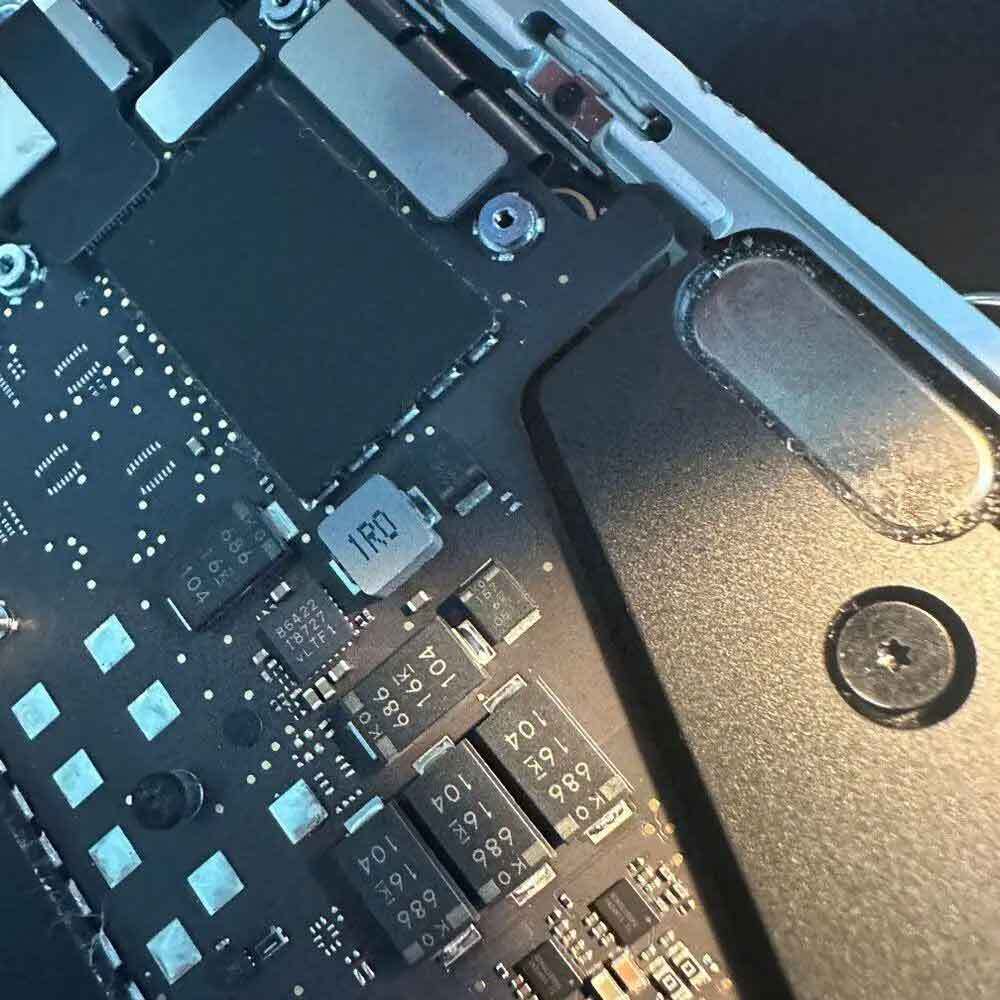
Now, as for the case, the metal case appears worn but not excessively so. All corners have damage as I mentioned above, scratches, malformation, indention etc., but overall it seems okay (the case did its job). There is nothing that raises a red flag indicating damage that could cause internal or computing issues.
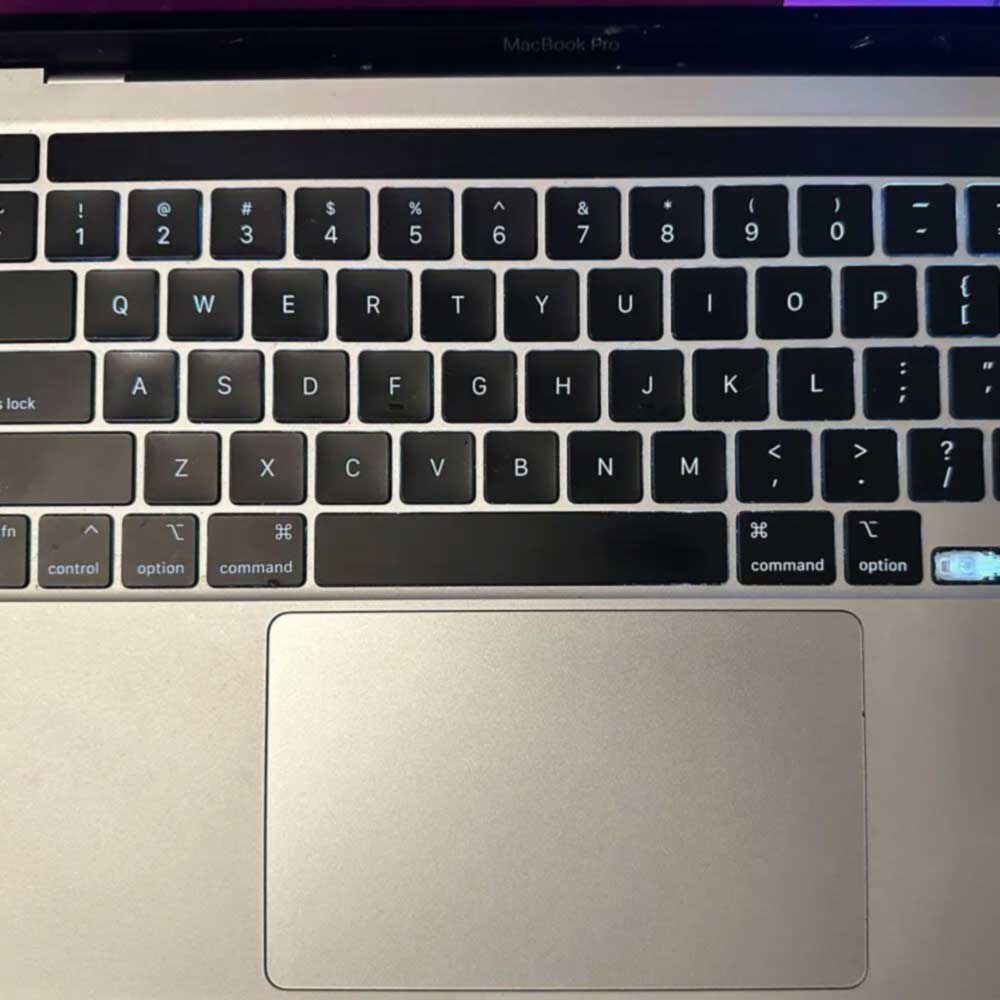
Interfaces: LCD, Trackpad and Keyboard
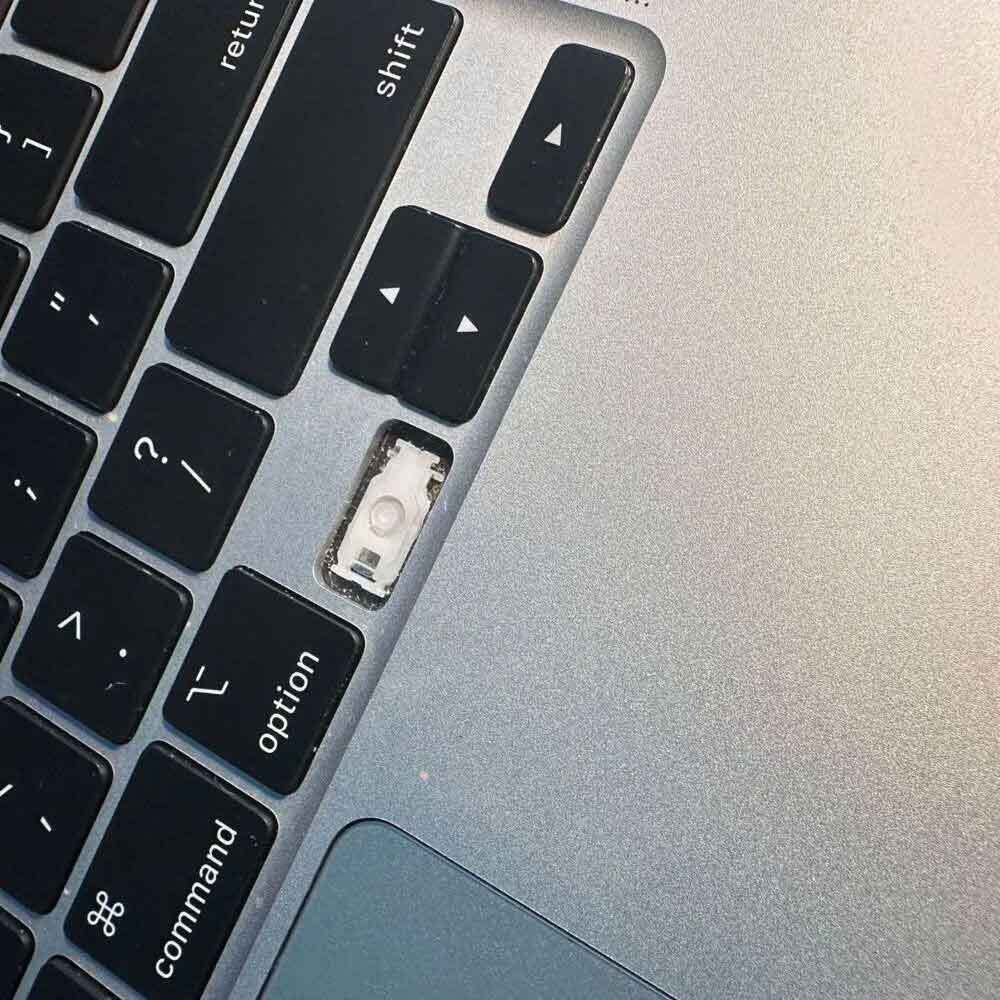
Thirdly, in the next step of the M1 Visual Inspection & Teardown article, let’s inspect the keyboard. The directional arrow is missing, and the touch bar is no longer illuminating… I wonder if the key came off and damaged the screen somehow? Not likely, but something appears to have been closed in the laptop where the touch bar and screen would meet upon closing the laptop. Another takeaway is that the machine may need an overhaul, or a new upper (upper case, which can be extremely expensive as it will include all parts).
Finally, parting out, or fixing each piece, individually is not recommended. Now a disclaimer – this is my own machine. Typically, items under warranty will be processed through Apple via Apple Care. Utilize Apple Care or Apple+ where you can, assuming you’ve purchased the warranty/insurance. If not, things can get expensive. There are resources out there as you can imagine. Hopefully posts like this and those following help to provide some guidance in dire straits.
Ok, now that we got that out, let’s get to the first fix; this left arrow key and LCD screen. Quickly, see other articles linked to this story: Self Repair, Refurbished, Screen & Keys and Touch bar