Ender Series TPU – Pre-Assembly, Rebuild Part 2
Assembly & Direct Drive Rebuild, 2
Lab Work – Rebuild In Progress, Part 2
A few steps forward now, we pick up with the bolt on extruder assembly. Also, lets add the backplate here in rebuild part 2. So, we continue the rebuild in progress, part 2.
Focus, Removal Of Bowden Drive
Fully Assembled
Remove Housing
Extruder
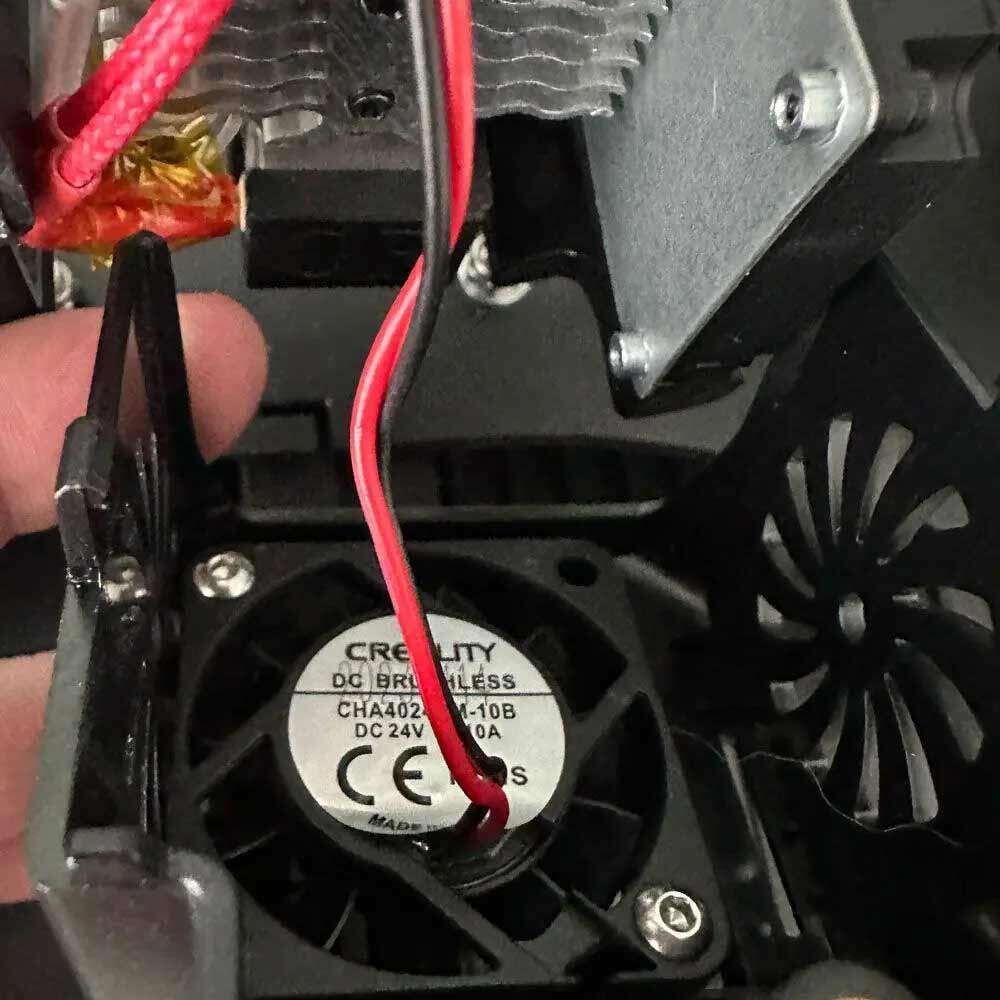
Remove Fans
Remove Extruder
Disassembly
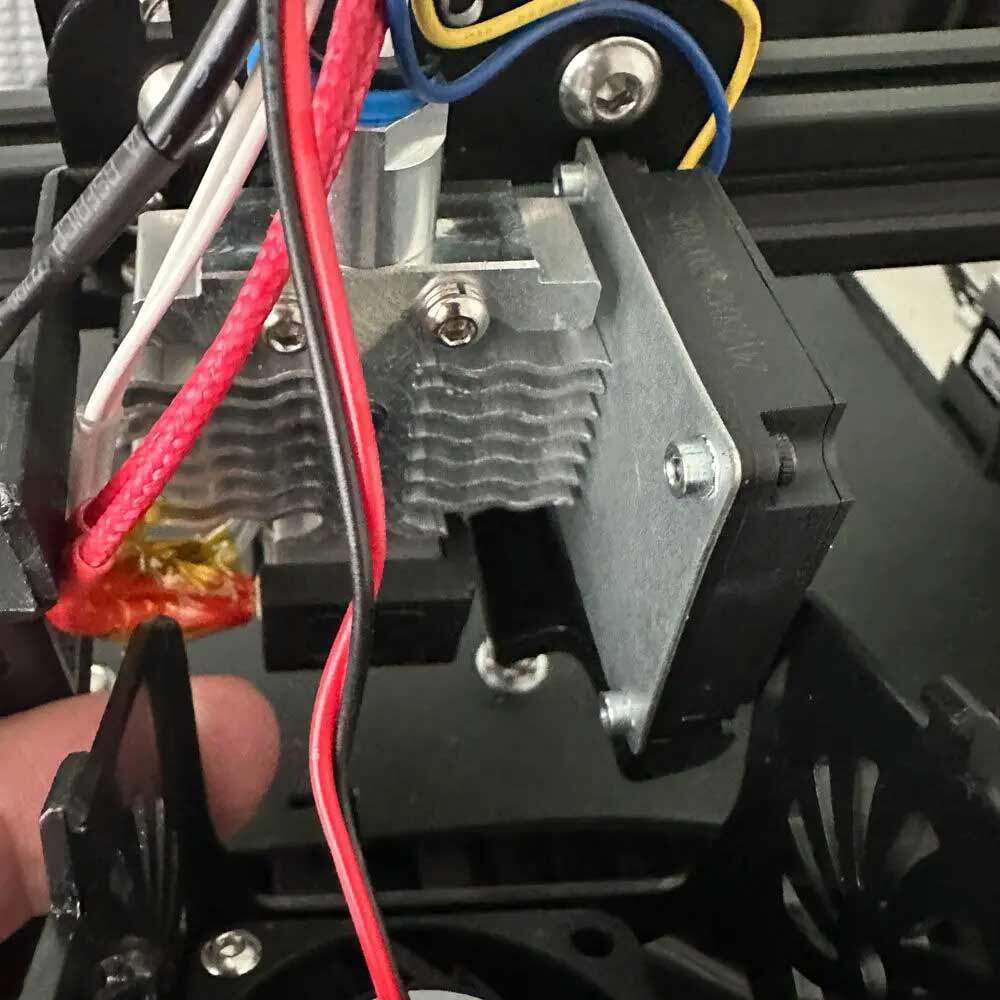
Hot End
Clip Tubing
DD To Extruder
DD Tubing
Motor Clips
Motor Control
We continue, in progress mind you, rebuild part 2, following on from the previous article in the series, Rebuild part 1. We are discarding the original backplate and incorporating new assembly hardware (correction, a new backplate was needed, and you can see that update here).
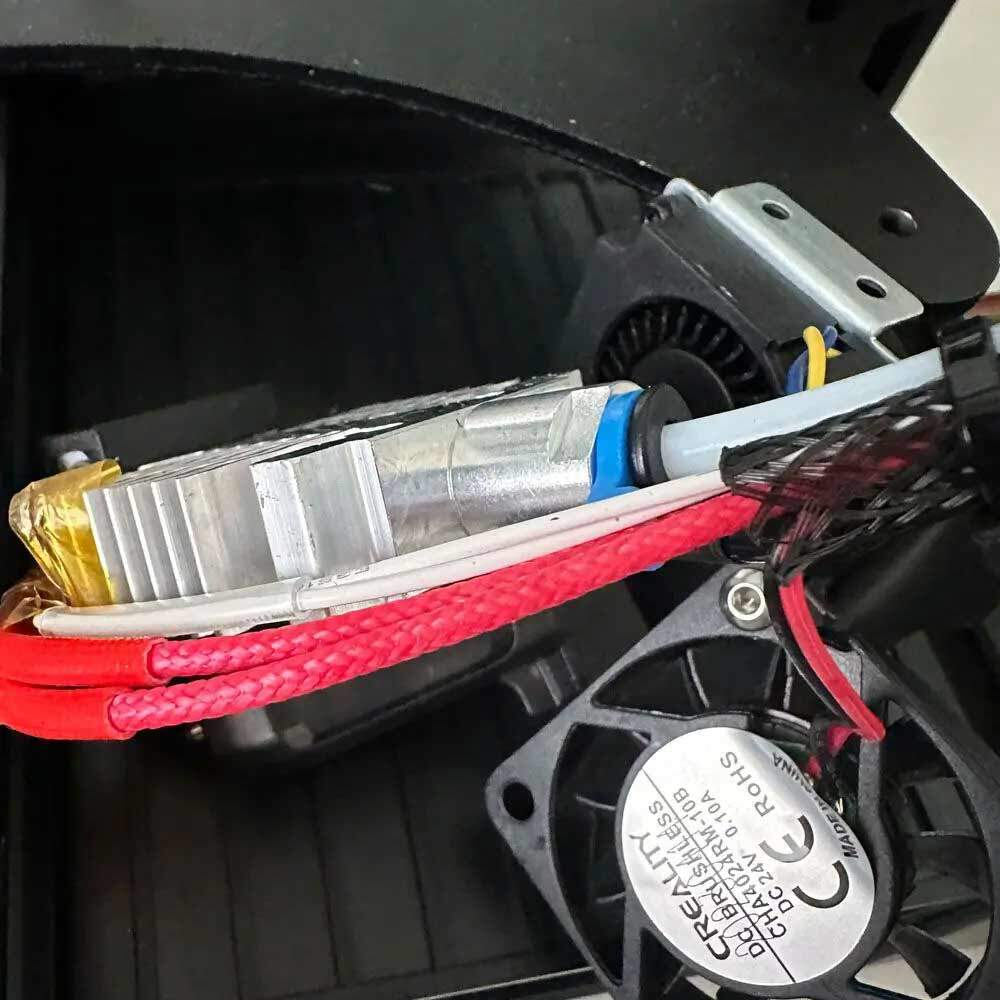
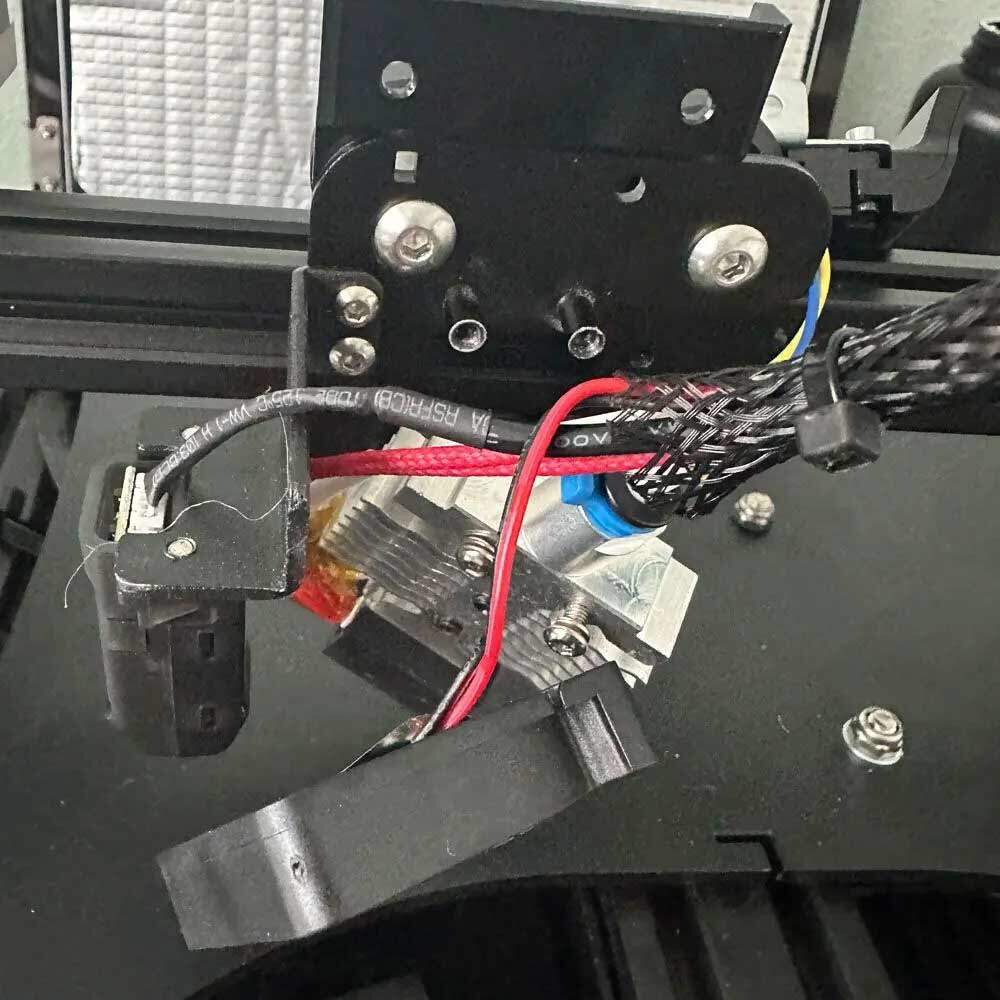
Unfortunately, the new OEM plate was not compatible with my setup, so I will salvage the new wheels, screws, tightening washers, bolts, and spacers where possible. I quickly performed a dry-fit of all the components, including the screws, spacers, wheels brackets, probe (a black, narrow plastic piece with a probe), side fans (with yellow and blue wires), and heating element (comprised of a heater, heat sink and extruder). Take the steps needed to be successful, dry-fitting parts helps to understand the build process and potentially find deformed and warped parts.
So, the takeaway for rebuild part 2, assembly required. Take your time, read and reread the instructions and be careful installing said parts. You can find parts, bolts, upgrade parts online, but, the more to find single parts and pieces outside the kit. Be aware, keep track of said parts included in the kit, careful to not strip screws and deform or distort metals or pre-produced parts. You will run into manufacturing defects, it’s part of the process, do what you can with the parts included. Example here is the backplate, length of screws and fit/finish of parts. It’s unfortunate, but it does happen. Just be prepared to troubleshoot and roll with the change.
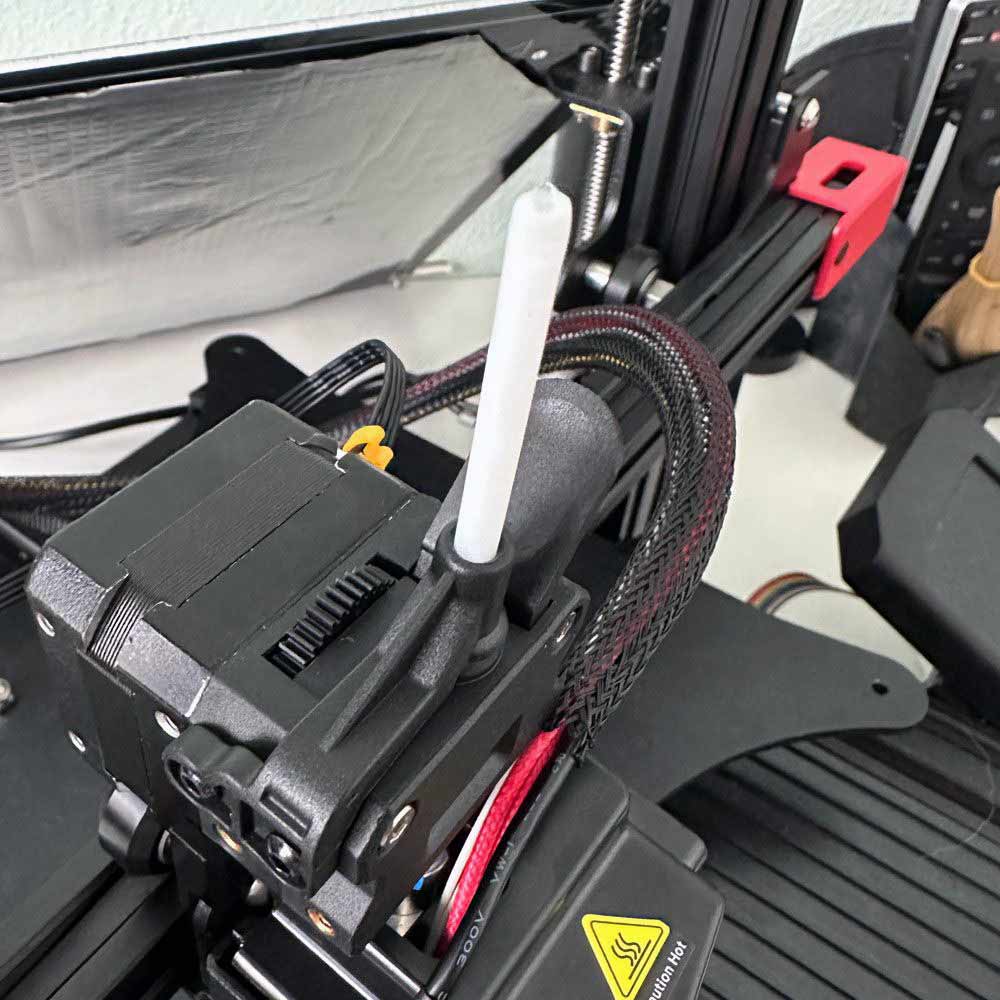
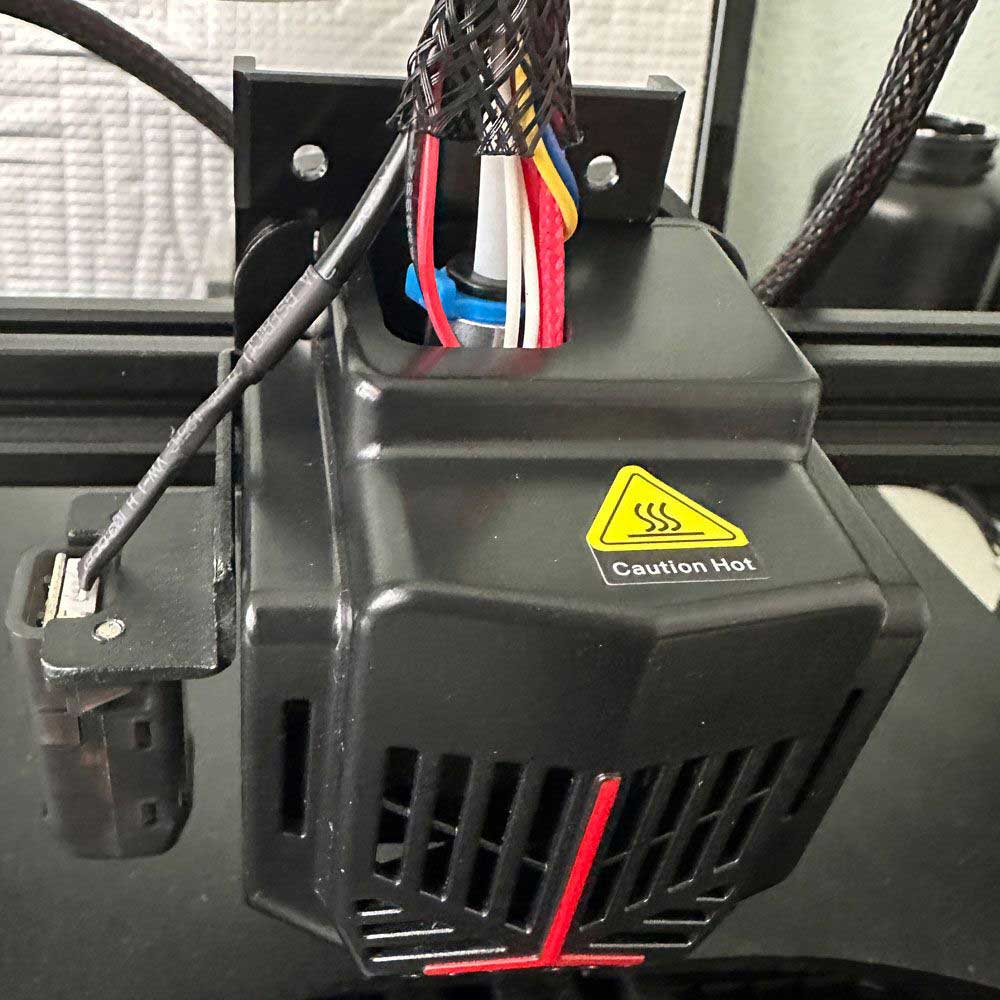
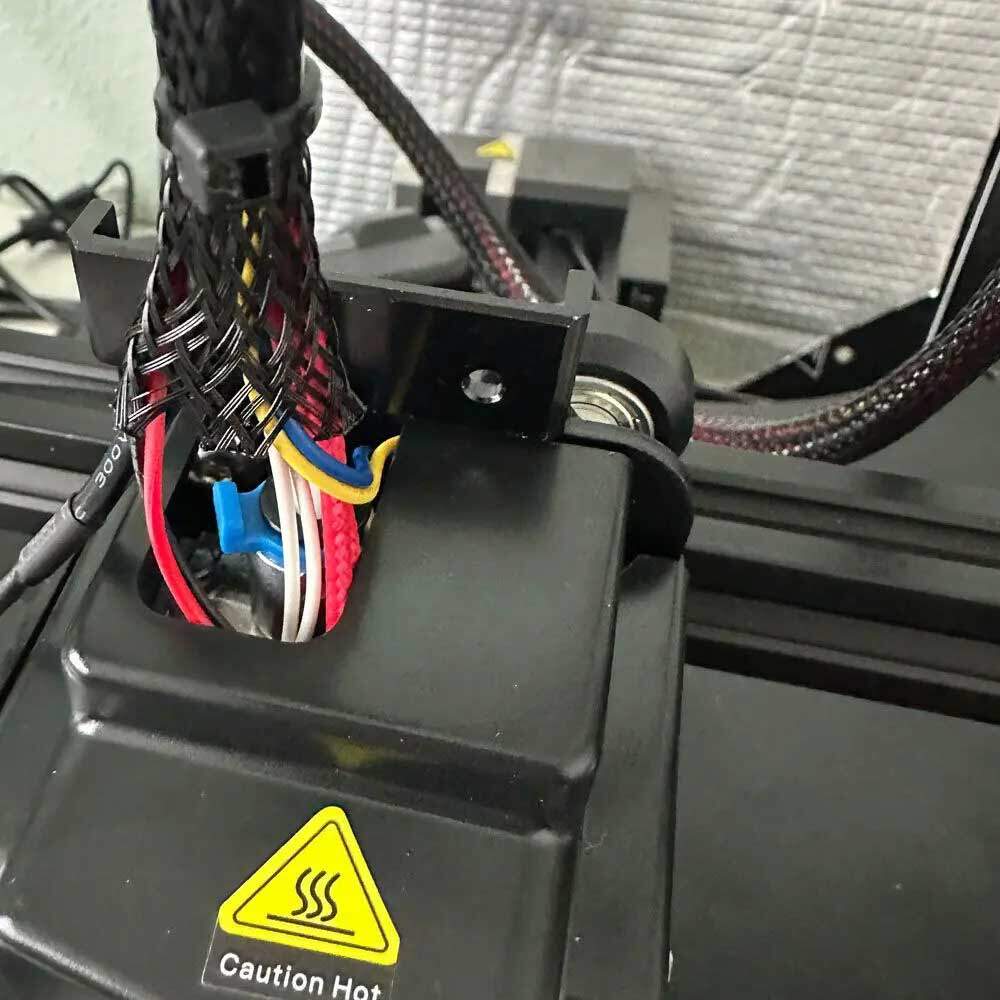
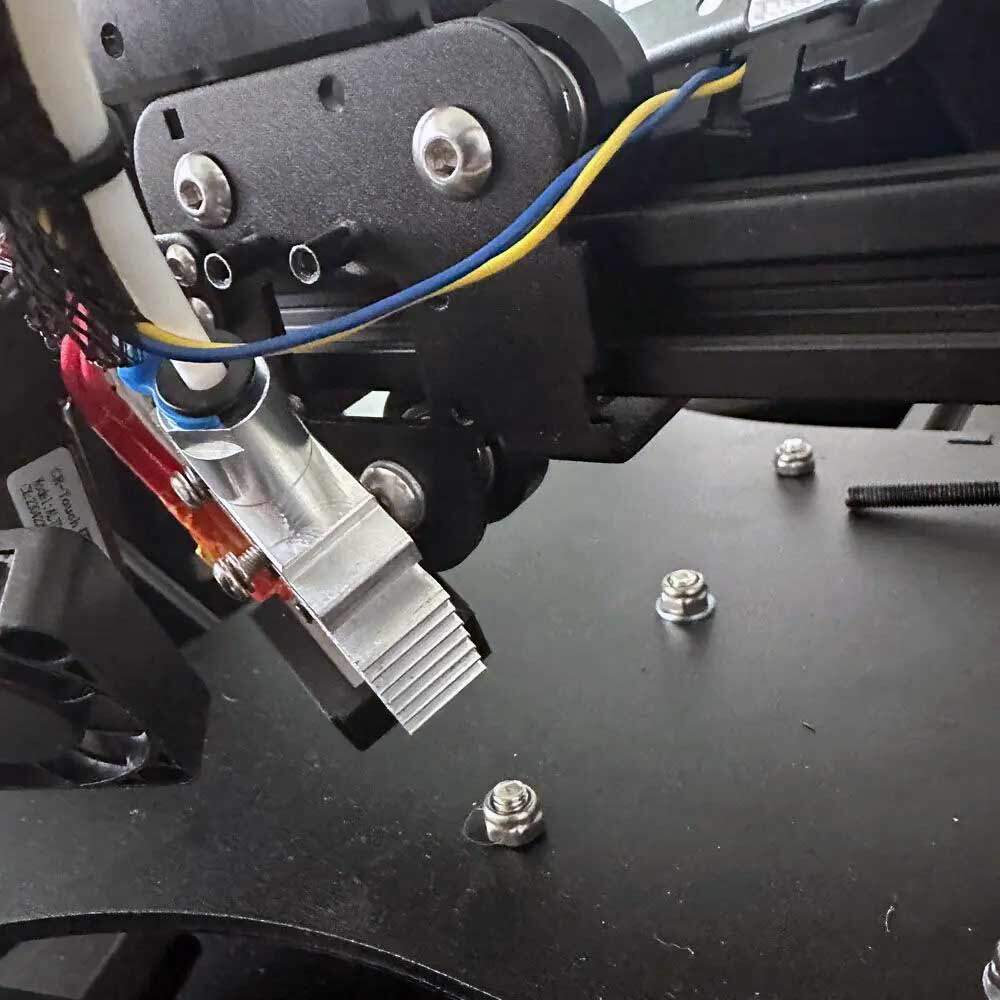
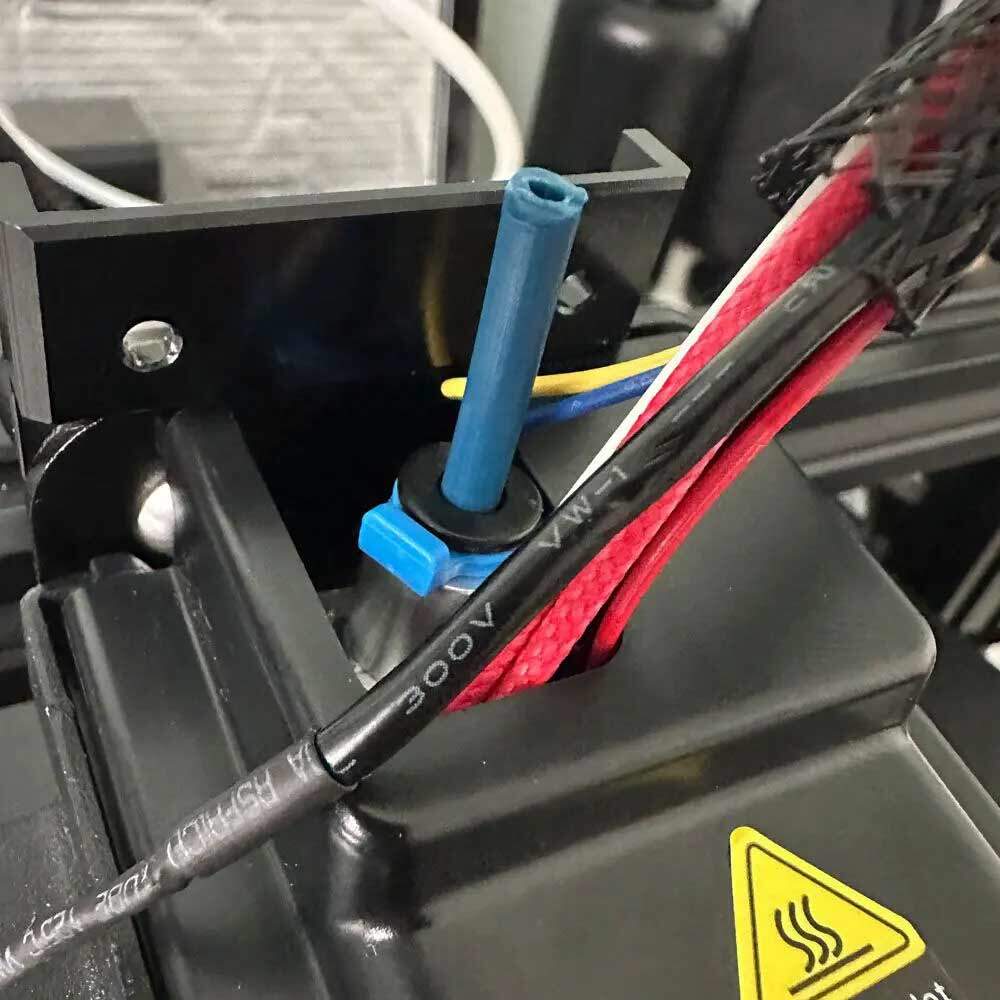
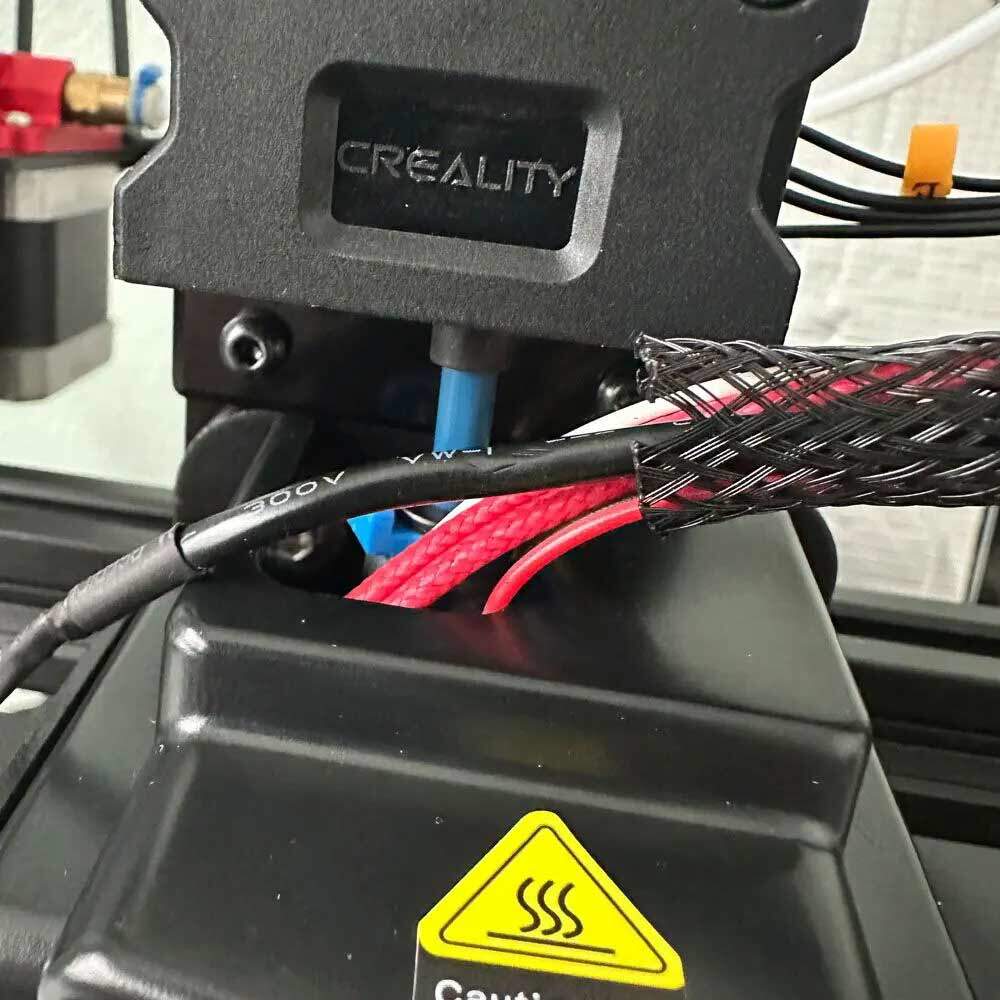
For the final step, make sure to tighten the wheel screws, fan, drive belts, and extruder before installing the heating element. The order in which you do this is important, just like when removing the Bowden drive, brackets and extruder tube. We will reuse some of the old tube to guide TPU filament into the new direct drive extruder. Next, install the extruder fan (red and black wires). Now, you can unscrew the two top wheels and install the new direct drive platform, secure it, and snap on the carriage case (note: the hot side should be on top, dry fitting a key takeaway here in rebuild part 2).
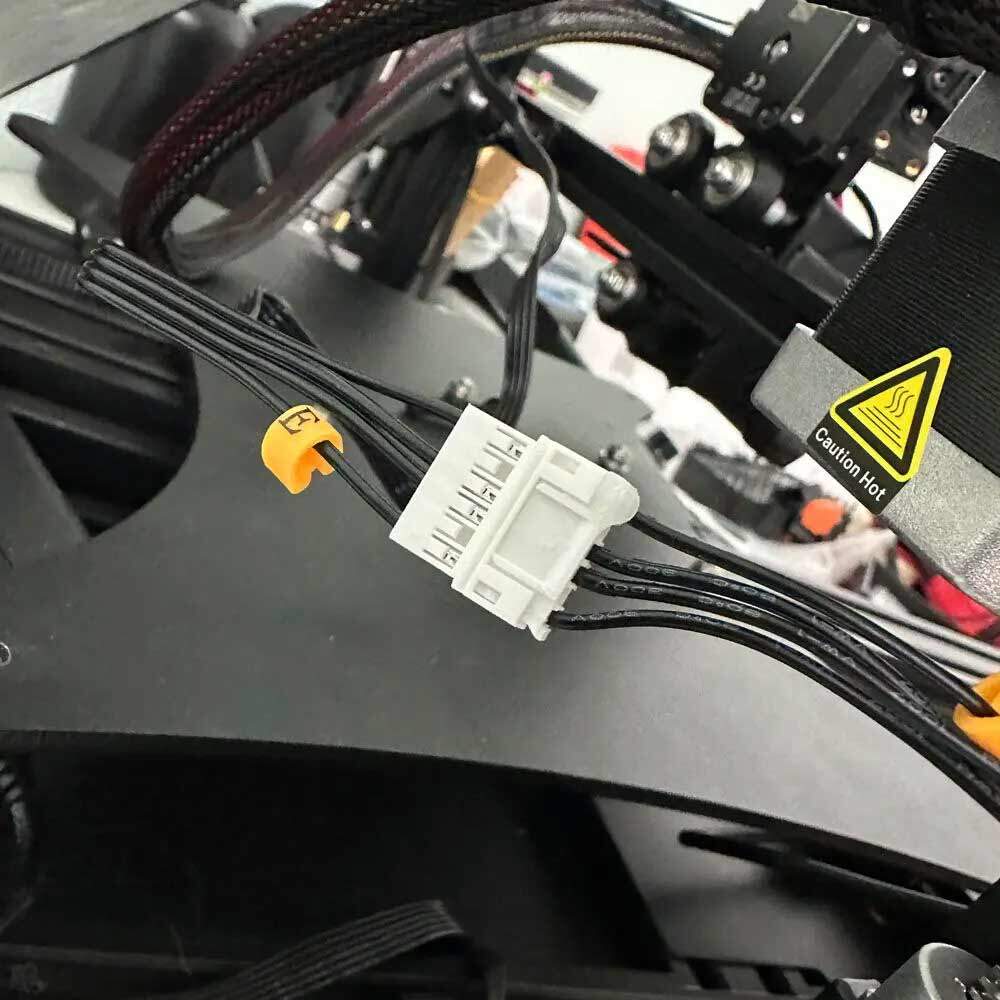
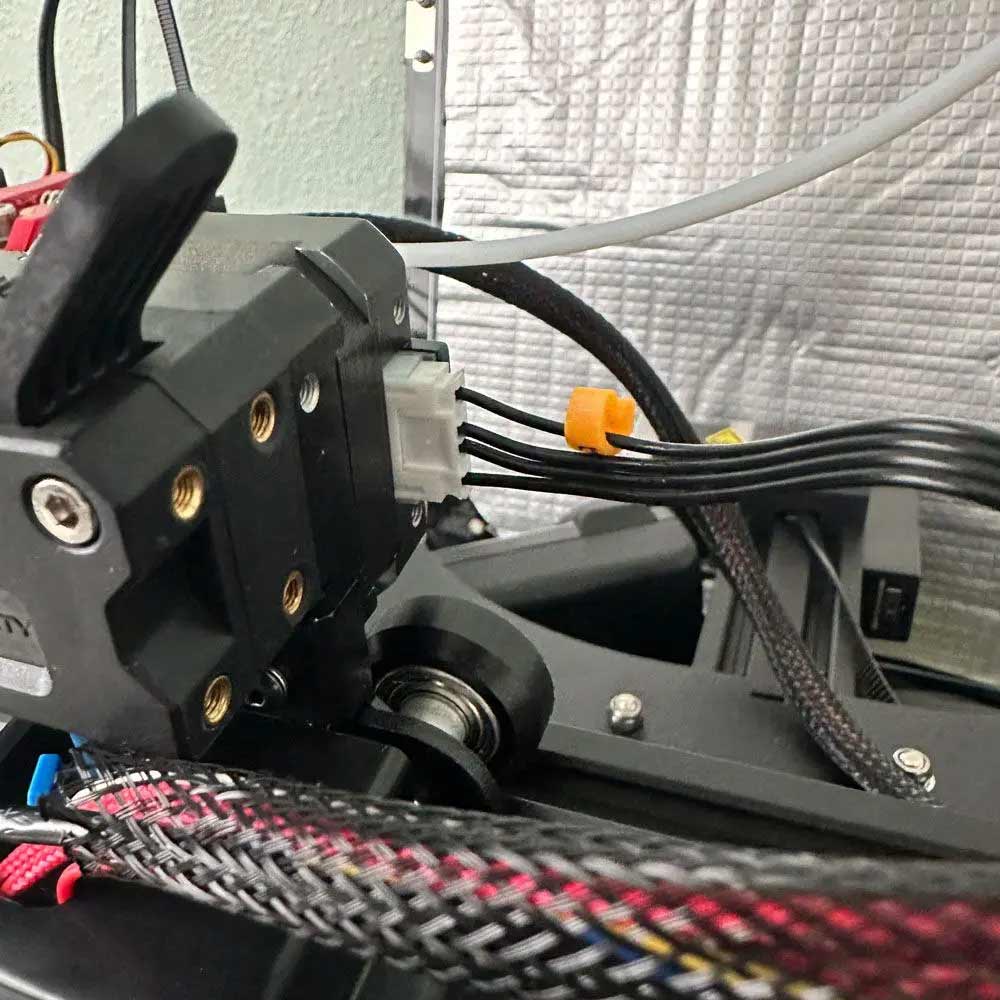
Next, attach the direct drive by clipping it onto the tube provided tube, then snip the tube after a fitting or two. Ensure, the fit is correct. Screw in the direct drive platform from the backside of the plate, which should be installed on the last step. After securing it, connect the direct drive motor to the main line by passing the frame platform where the old extruder motor was located (refer to the last couple of images) and place the harvested tube for filament.
Parts are key as noted above. Keep what you can, take care of those parts and castoff. The point being, the process helps when parts have issues. Also, this helps with the final fit and finish, elevating the final upgraded machine. We are improving the machine in all aspects, the goal is to be new or refurbed “new” or better.
Easy, right? Part 3 will be coming shortly. We will cover that tomorrow. We need to replace the heating plate, power on the machine and change the step movement.
Comments
2 responses to “Announcing Ender 3 Rebuild Part 2, Valuable Rebuild Tasks”