Ender Series TPU Upgrade, Rebuild Part 3
Final Assembly, Boot, Config and Print
Lab Work – Rebuild Part 3
Snag, troubleshooting begins, rebuild part 3 covers this and more. Follow along as I continue the Ender TPU upgrade process in this series.
As the rebuild continues part 3 rolls out, we are seeing the challenges now. For the time being, please refer to the updates above/below for part 3 updates. We will be covering more of the rebuild process, including the x/y-axis bands, plate, direct drive issues, boot/reboot procedures, and reinstalling printer drivers. Additionally, we will discuss slicers, nozzles, extruder/heating element, and the latest issue, the onboard/external interface.
Breaking Through, Troubleshooting activities
As noted in the previous build, prior to this rebuild part 3 article… found in Part 2 of the series, we are likely around 80%-90% complete at this point. We will refer to this rebuild as Part 3. We have encountered some filament burn and melt down, as well as blockers that we will address in Part 4.
Nonetheless, Part 2 was successful, and now Part 3 is also going well, with all parts functioning as expected and the boards booting as they should. I do want to note, troubleshooting is an ongoing process when 3d printing. Prints go sideways quickly, and the key is to stay on top of the variables of change. So, speed, temperature, printer surface, “slicing” and distances.
Be aware, these variable change with the wind, folks online have done yeoman’s work to keep you printing and printing with success. This article, rebuild part 3 is meant to share surface level troubleshooting actions and the successes found in the process. These findings are specific to the machine, software and web application. So, be warned, the findings are based on a refurbished Ender 3 Max Neo, using Creality TPU, TPU sprite extruder and required motherboard. Bolt on’s have there issues, let’s dive into rebuild part 3.
The new drive and extruder are working in tandem as intended. The issue, as previously mentioned, lies between the Creality Sonic Pad, printer board and connecting software. Images will be included to illustrate the challenges faced during the rebuild, including manual updates made on the printer screen, main board, and the area where we are currently stuck with the Sonic Pad. Two notable errors are the Klippy software and Sonic Pad physical connection failure, as well was filament recognition.
Rebuild
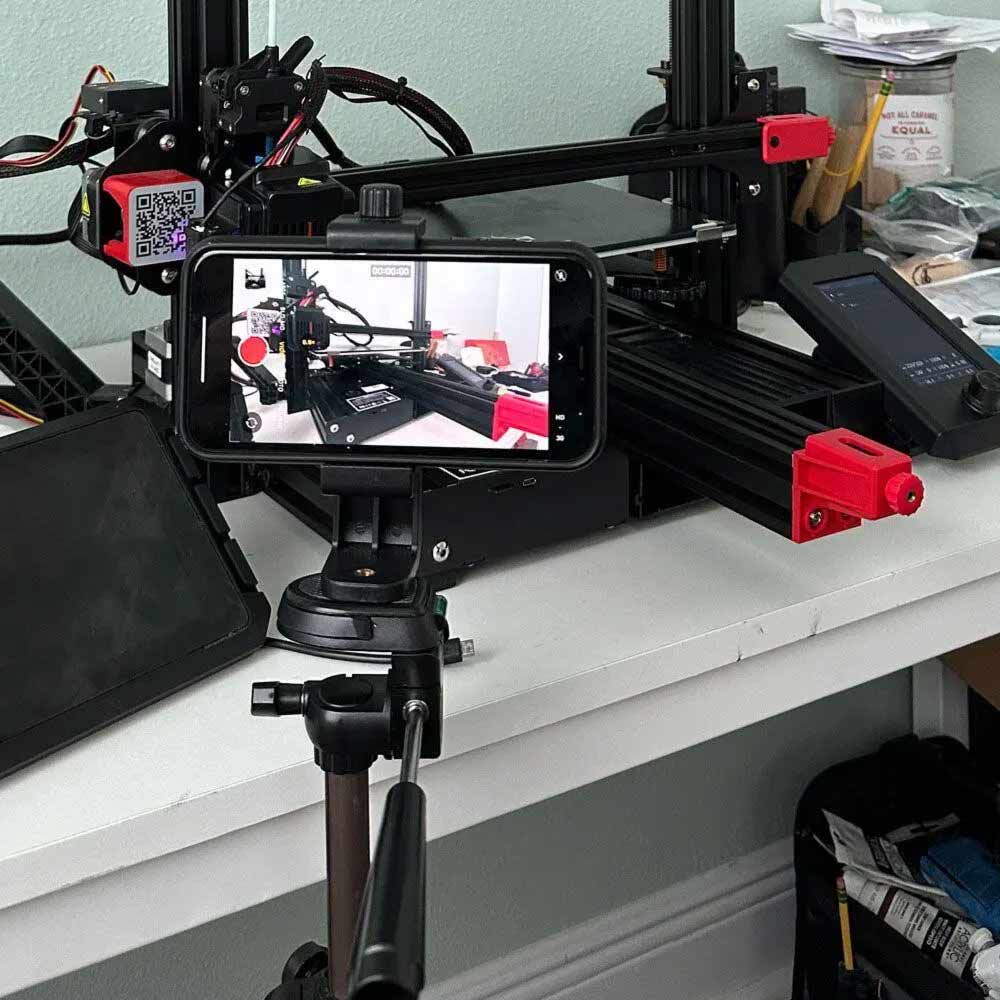
Print Video
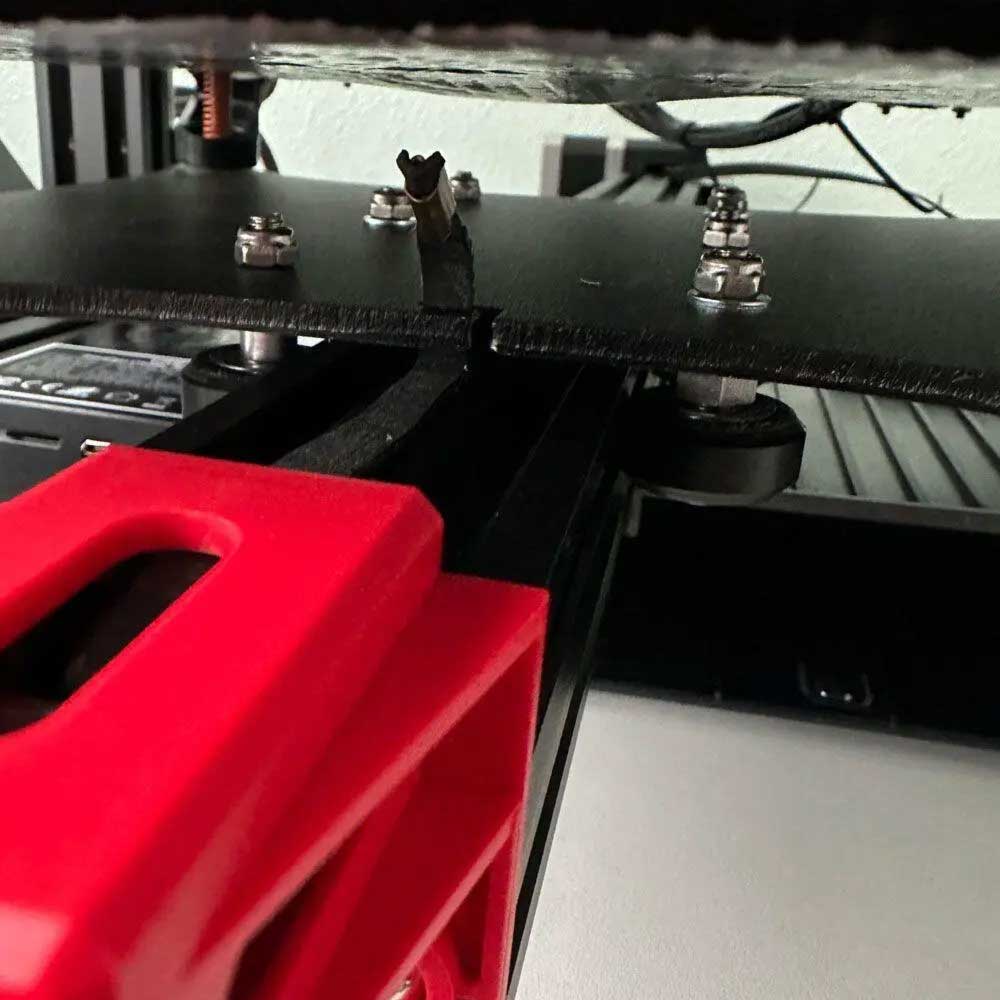
Tension Bands
Secure Bands
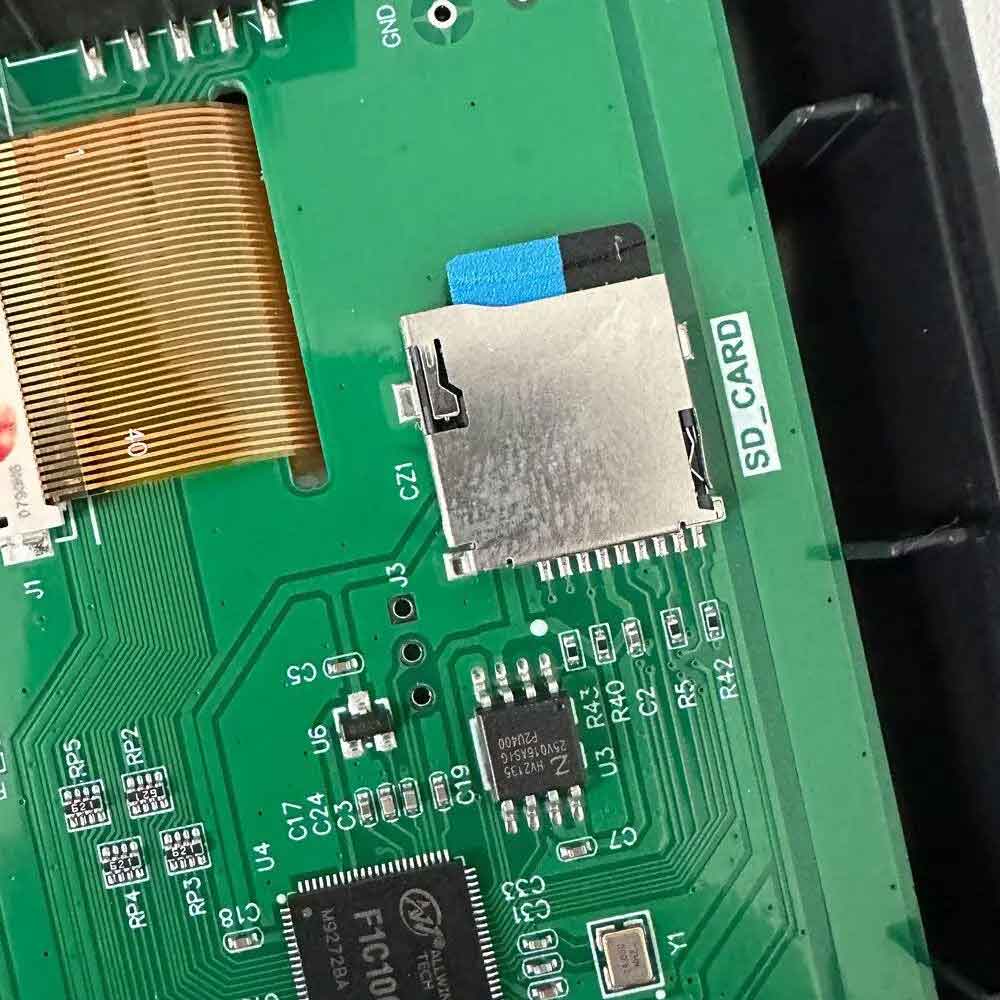
LCD SD Card
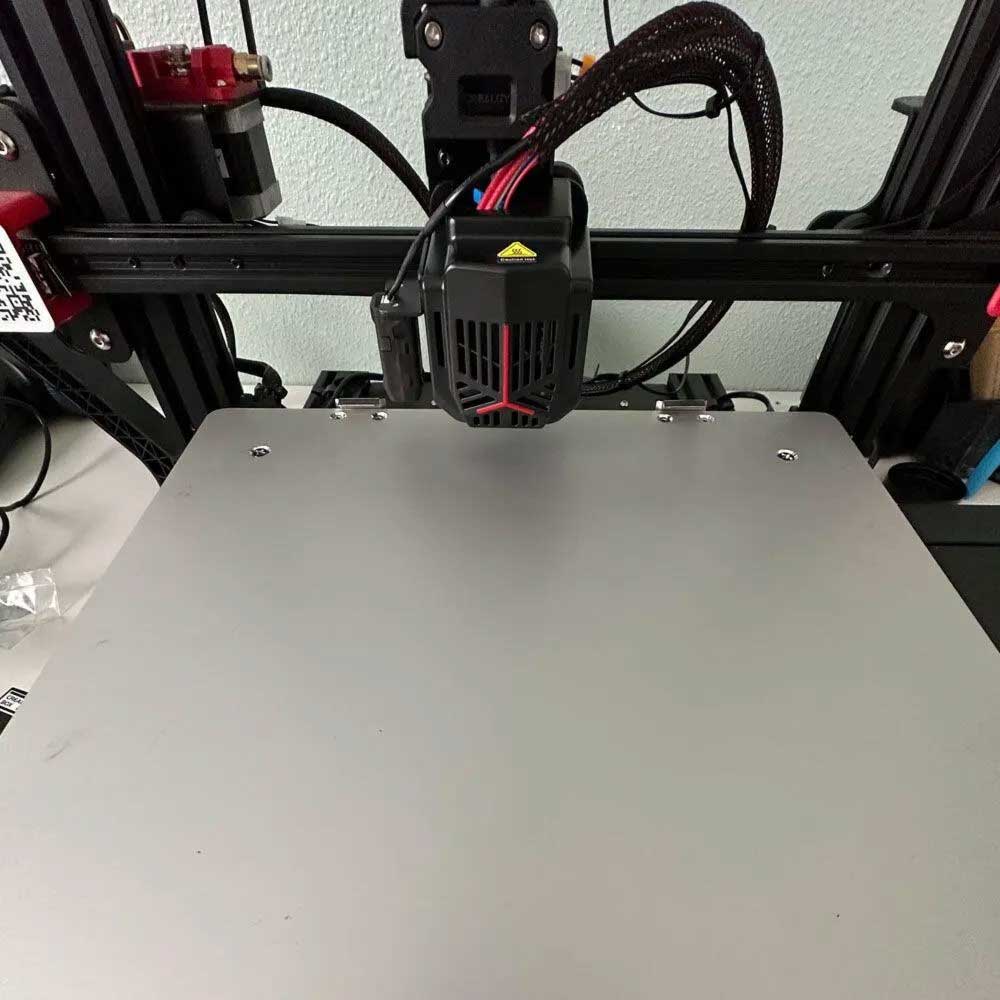
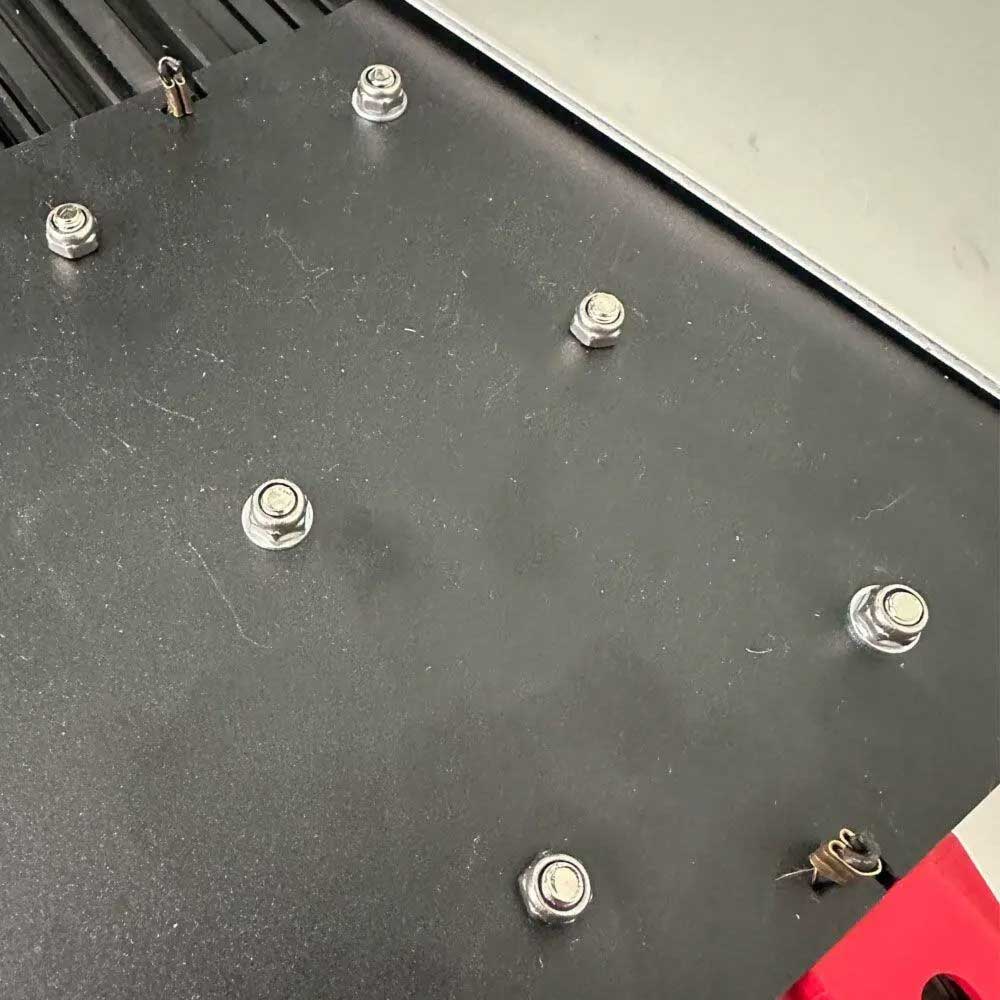
Clean Build Plate
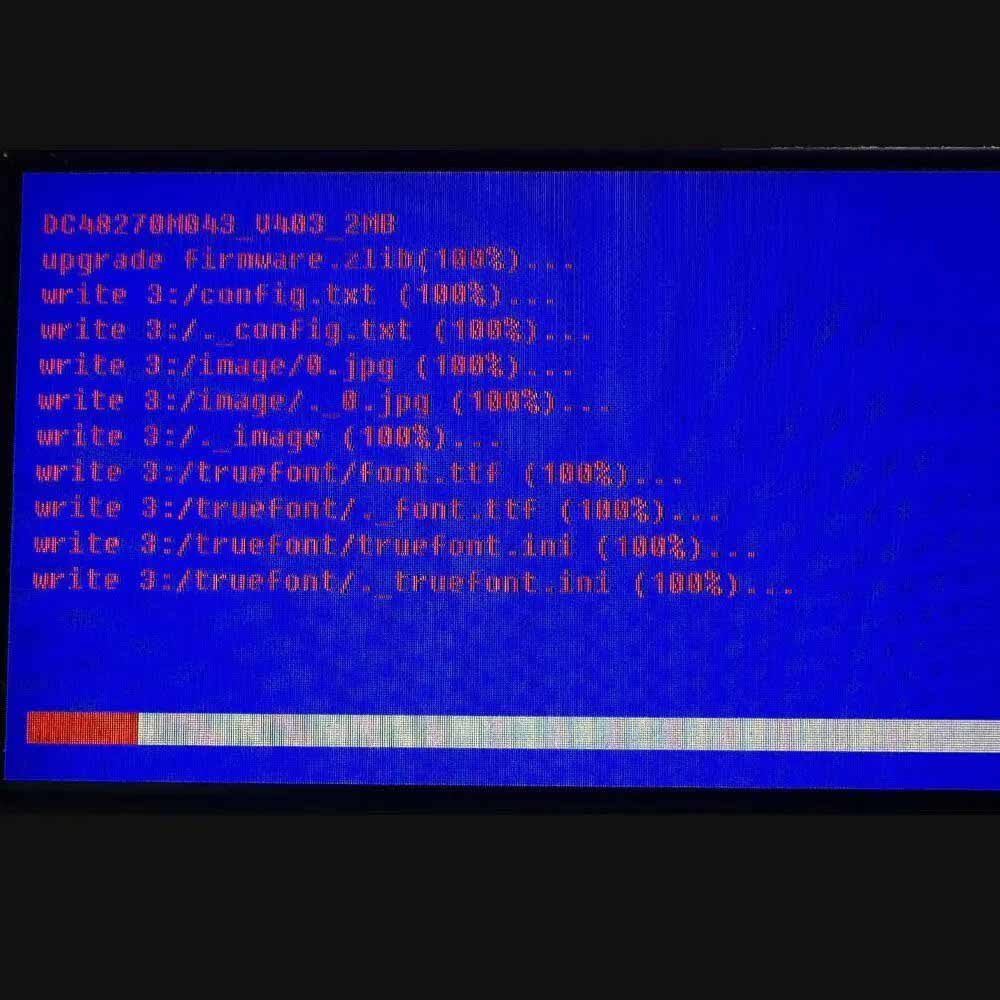
Install Firmware
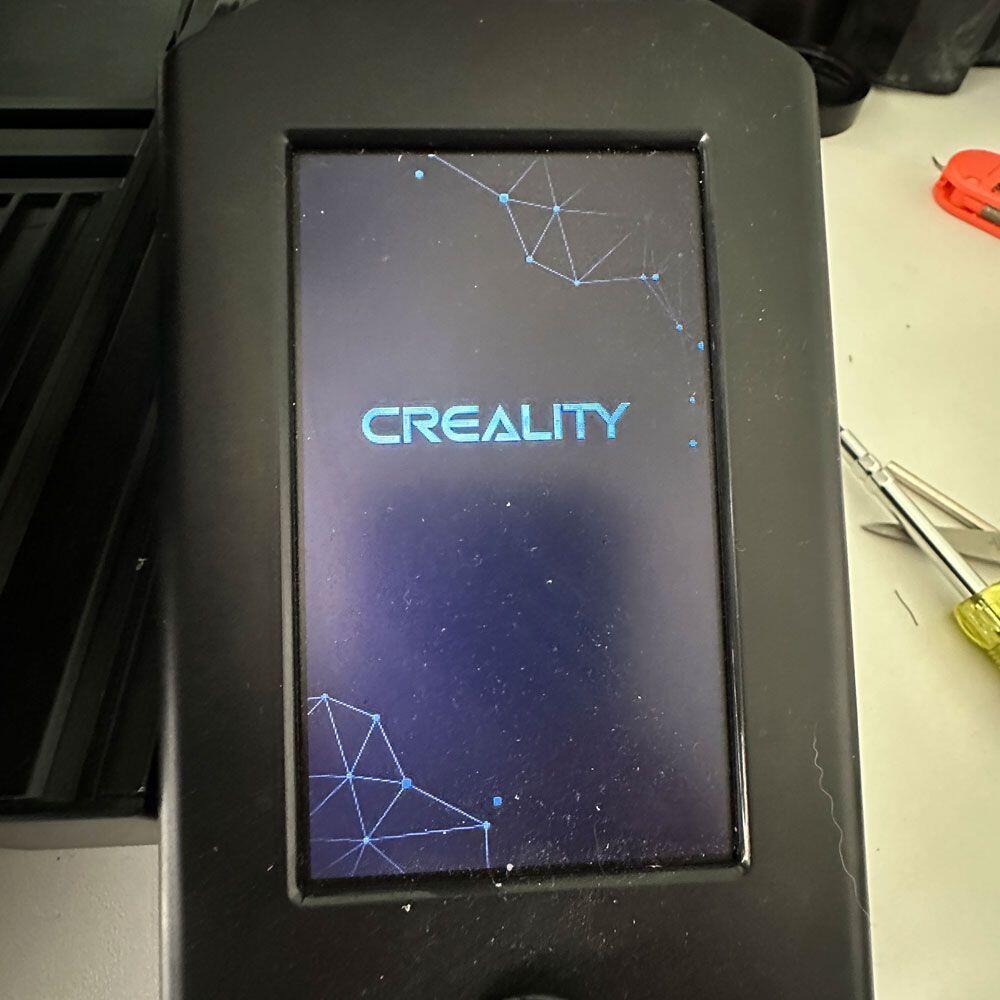
Power On
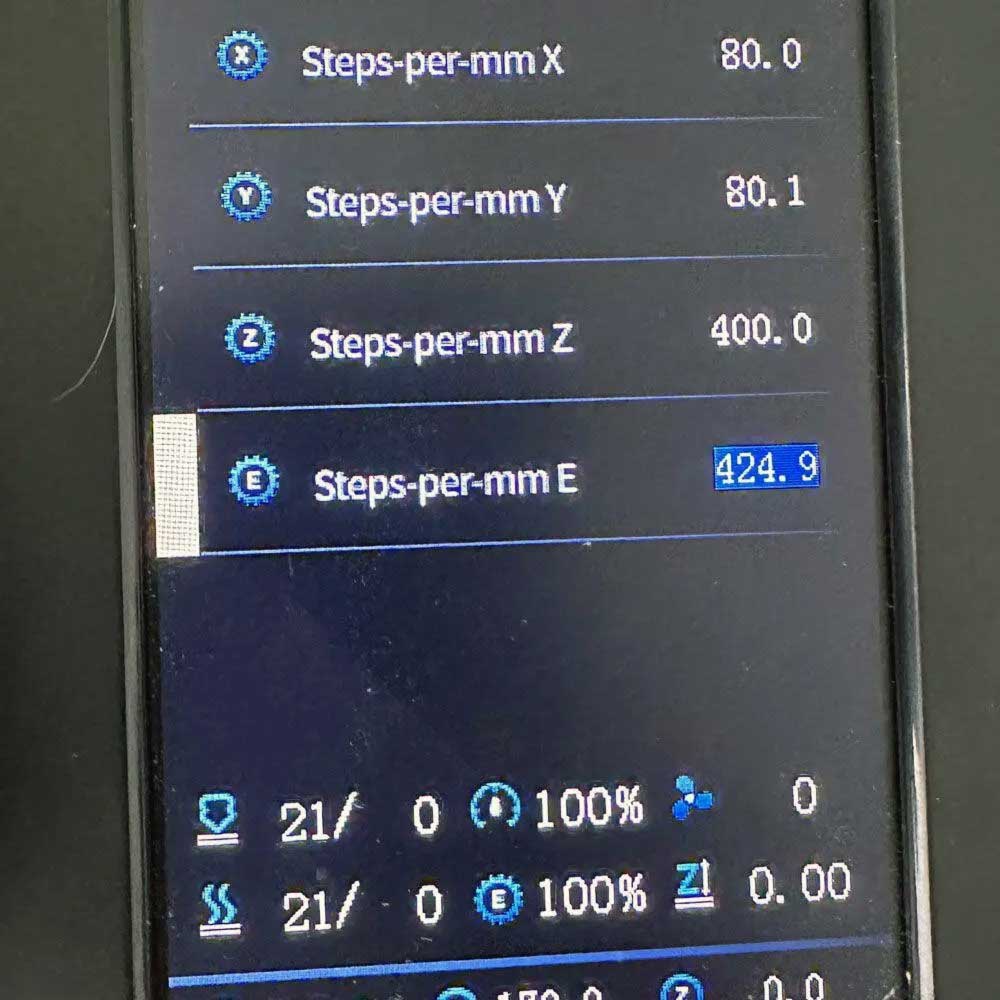
E Stepper

Connection Error
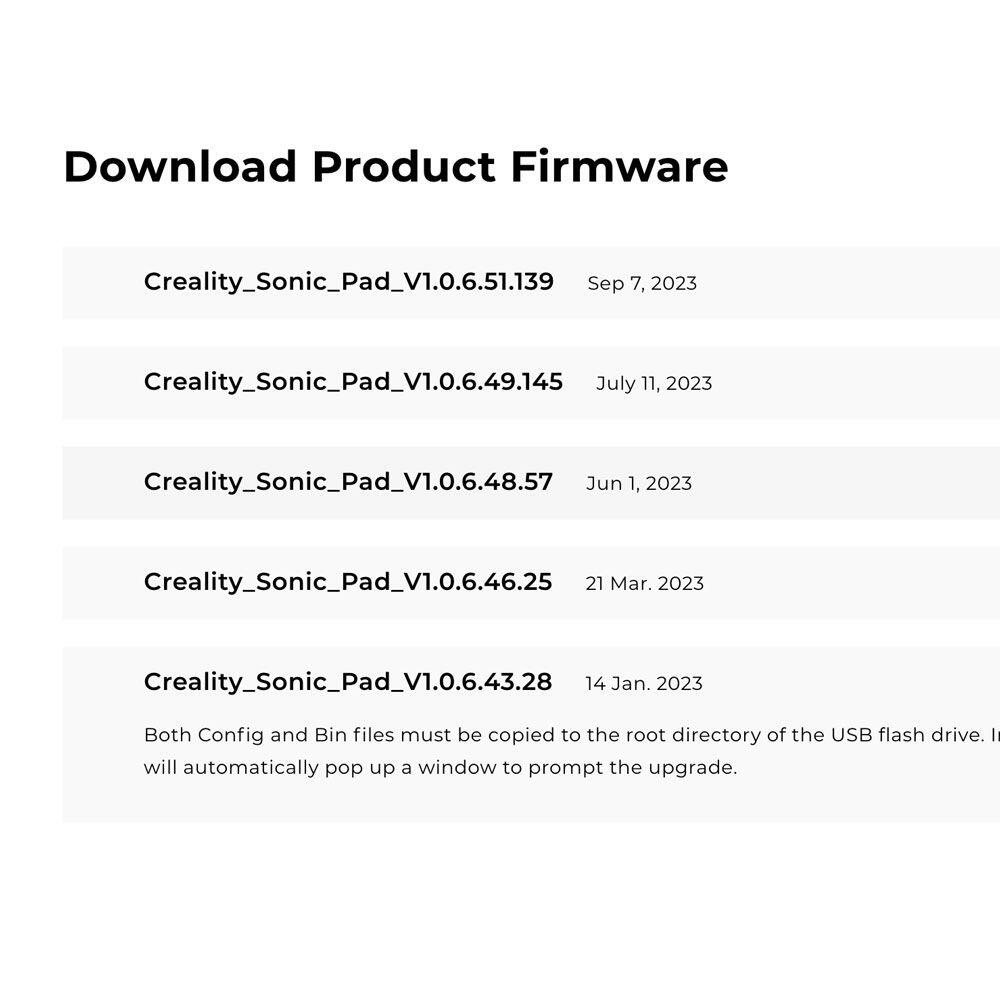
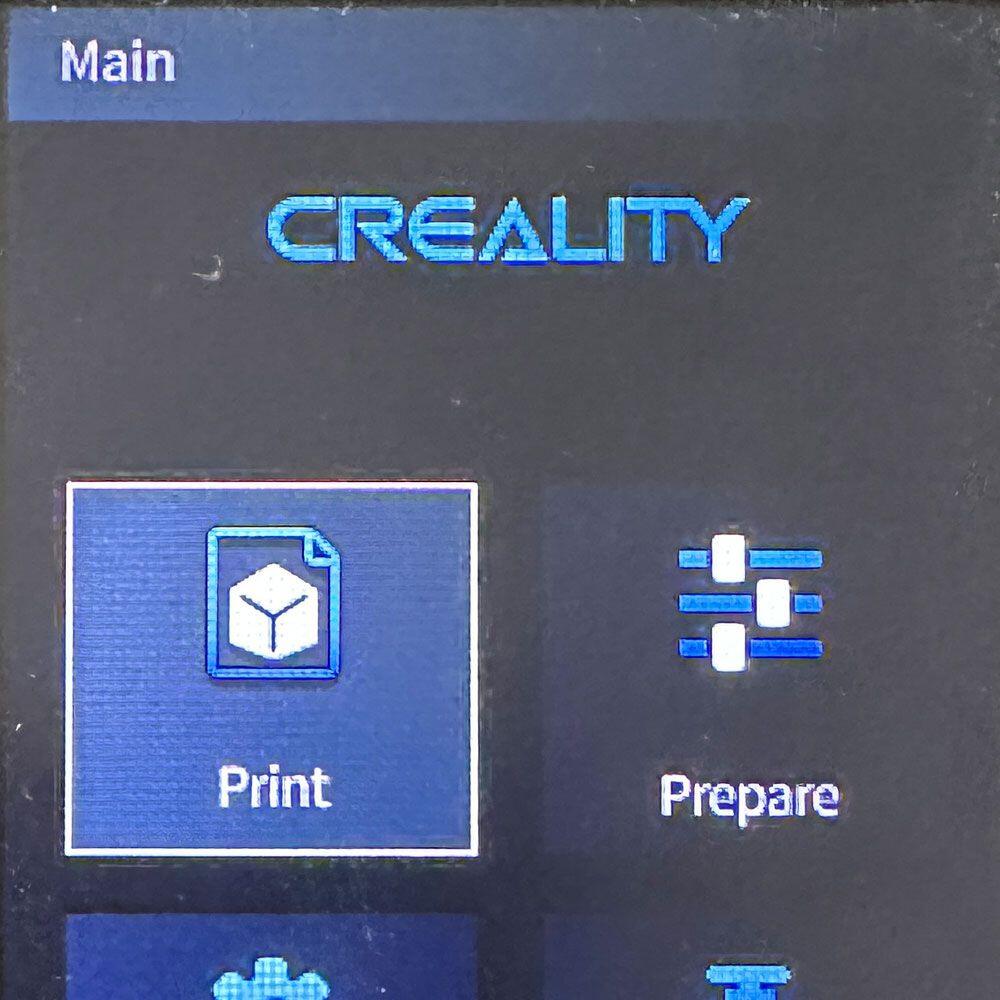
Firmware Selection
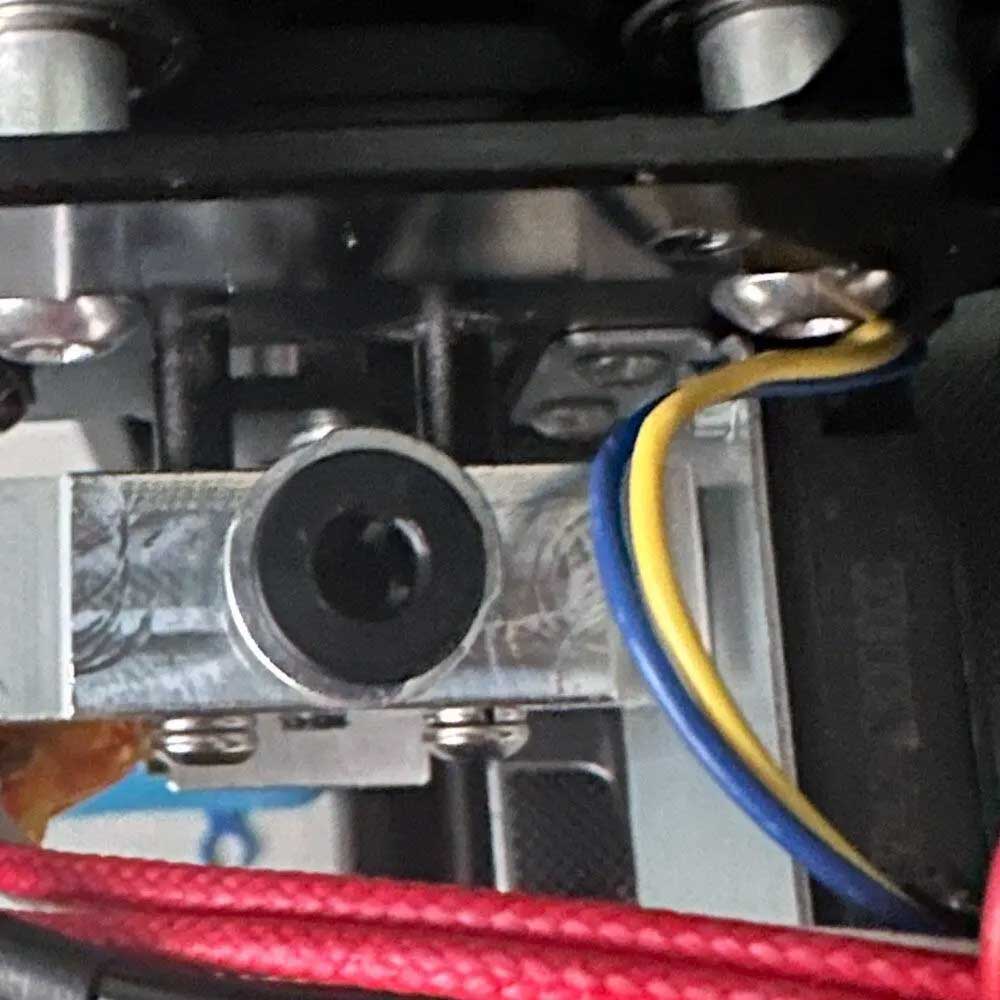
Extruder
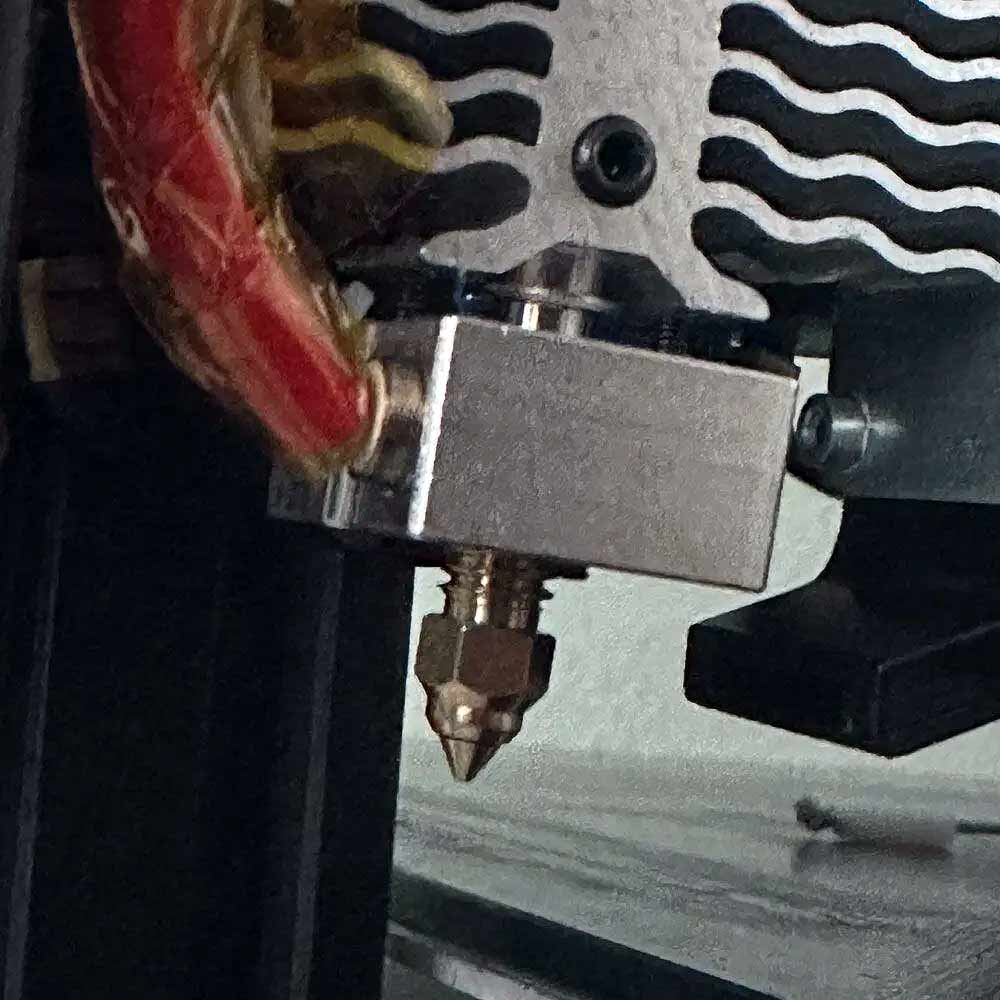
Hot End
Our next steps will involve installing/rebuilding Klippy, testing, retesting print config files, reattaching the Sonic Pad, replacing extruder tubes, nozzles, adjusting e-Steps, home position and more, while also adding the Wi-Fi Box 2.0. Once all of these tasks are completed and thoroughly vetted and tested, we will create a brief update of the build and active prints to mark these items of the rebuild list. Next steps – TPU Settings, Rebuild Step 4, Rebuild Step 5 and wrap up.
Got to love technology (or not), and office ‘helpers’ Zeus thought he would take a little snooze while the troubleshooting session continued throughout the day and night. The same can be said for discovery and testing, there’s no time like the present. Some folks call it the ‘grind’… I’ll leave that there for you to imagine. Is it painstakingly difficult? No.
Time always plays a role, especially when speed-to-market is crucial. You have to be willing to work with what you have… Part 4 will be coming shortly, where we will cover fine-tuning, steps, extrusion, adhesion and whatever else pops up in the meantime.
Comments
One response to “Announcing Rebuild Part 3, Smart Steps To Update Your Max Neo”